
Don’t let money get in the way of regular home repairs. Prevent future problems with affordable repairs.
Your home is probably one of your biggest investments. Stop neglecting the things that bother you in your home and fix them instead. Even without professional help, there are many home improvement projects that anyone can tackle as a DIY project at little or no cost.
Here are 20 things you can fix for less than $20, from preventive maintenance to aesthetic upgrades.
- eliminate dishwasher odors.
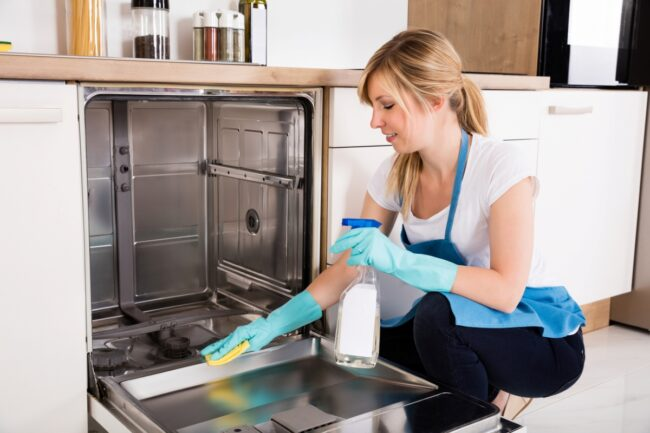
You want your dishwasher to last, and that can be accomplished with preventive maintenance. Accumulations of food scraps, dirt, grease, and soap scum can interfere with the machine’s efficiency and cleaning effectiveness, not to mention add unpleasant odors to the kitchen.
Manually cleaning the drain, running the dishwasher on a hot water cycle, and adding a cup of vinegar will wash away any foul odors and leave the machine clean and tidy. To get the most out of your dishwasher, please refer to our guide on how to clean your dishwasher.
- Wipe away scratches on stainless steel appliances.
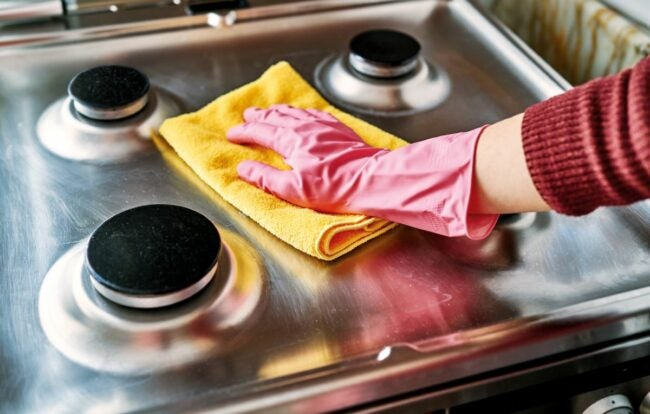
Scratches on stainless steel appliances are not necessarily permanent. Many can be removed, from small scratches to deep, noticeable scratches.
Scratch removal kits cost about $10 and are quite easy to use. Any scratches, no matter how large, should be buffed in the direction of the grain. The point is to start with the coarsest grindstone and work your way up to the finest grindstone to restore the shiny appliance surface. For the correct method, please read “How to remove scratches from stainless steel”.
- Unclog stubborn drawers.
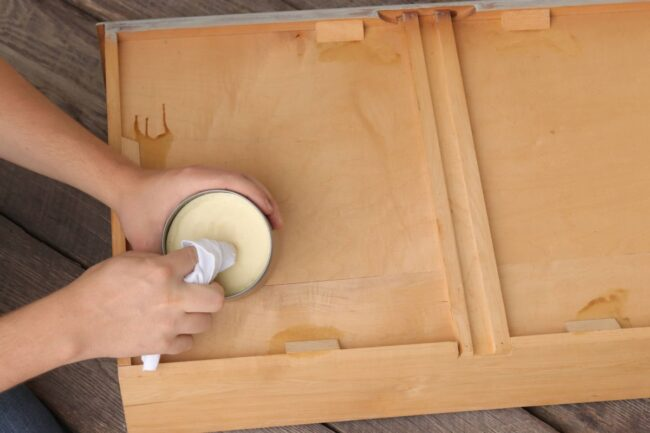
Whether you’ve plucked a beautiful wooden dresser or have a gleaming wooden desk at home, you’ve probably struggled to open the drawers. Unlike other materials, wood has a tendency to warp over time, especially in humid environments. Rather than forcing the drawer open, try removing the drawer completely and rubbing paraffin wax into the drawer slides, edges, and surfaces where the drawer contacts the dresser or chest. The wax will reduce friction and help the drawer slide more smoothly. Paraffin wax sells for $9.99 on Amazon.
- Fixing a Leaking Faucet
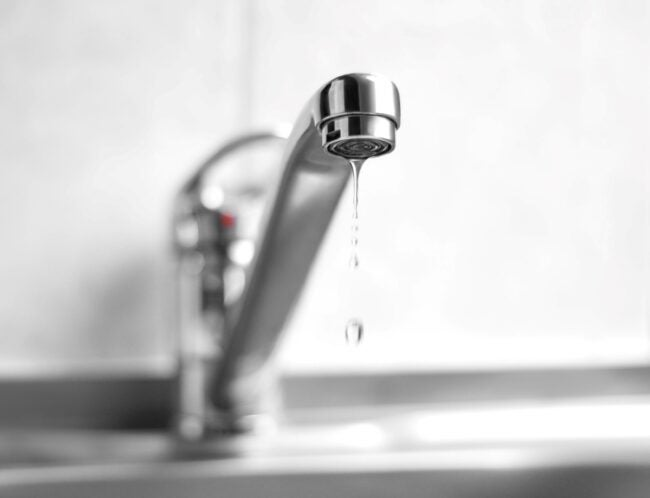
Before you pick up the phone and call a plumber to fix a leaking faucet, consider making it a simple DIY project. With a few household tools and a trip to the hardware store, you can eliminate wasting water and money.
Leaks are often caused by loose connections or faulty washers, which deteriorate as pipes age and sinks are used more frequently. A set of gaskets can be bought for less than $10, and a single one can be had for less than $3. To quiet the drips, follow our guide to fixing a leaky faucet and enjoy the quiet sound.
- stop banging on cabinet doors.
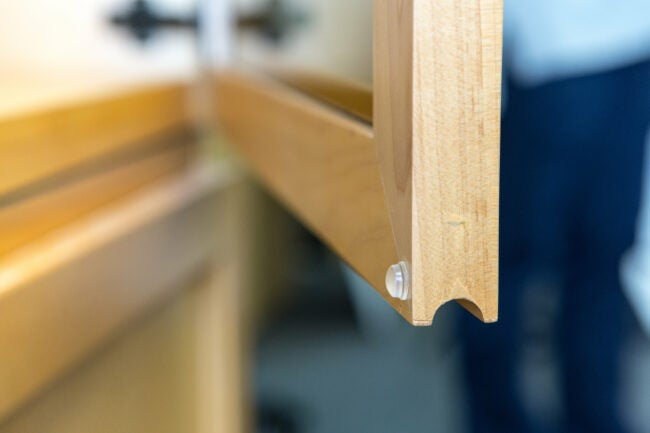
Repetitive banging on cabinet doors is not only noisy, but over time can affect the door’s alignment.
If soft closing hinges are too expensive, an affordable and very easy DIY to save cabinets and cabinet doors is to simply add a small buffer to absorb the sound and soften the damage. This pack of 100 cabinet door bumpers is available on Amazon for less than $10.
- install a clog-resistant shower drain protector.
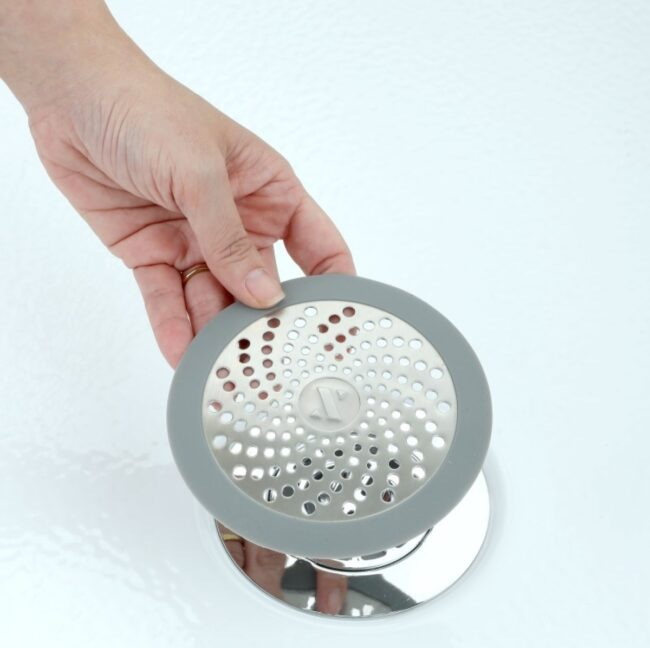
Spending just a few dollars on a shower drain hair catcher can save you future headaches and plumber’s hassle. This small drain protector allows water to pass through but prevents hair and other debris from building up and clogging the pipes.
Depending on the style, this mesh hair trap can be installed directly over the drain or inside the drain; no tools are required for installation.
- Eliminate water stains on wooden furniture.
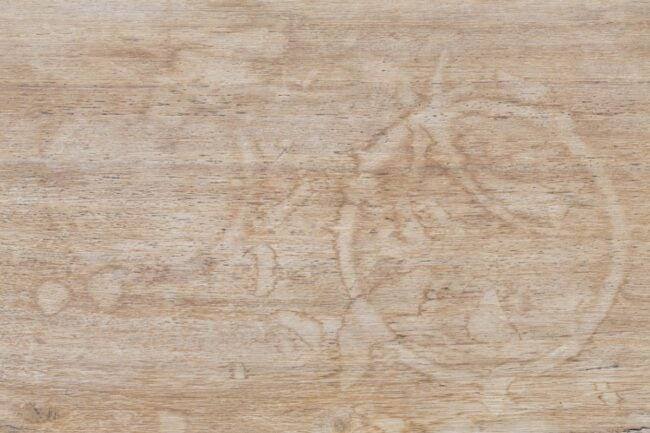
Some of the most beautiful furniture we have ever seen is made of wood, but this material has one drawback – it does not mix well with moisture. How many tables, dressers, and table tops now have water ring stains because someone forgot to use a coaster?
Instead of writing off furniture, save it with items that you would have in your home. As for water stains on wood, there are three ways to minimize damage. Use an empty iron on the lowest setting, dab mayonnaise on it, and scrub with white non-gel toothpaste.
- Eliminate furniture wobble.
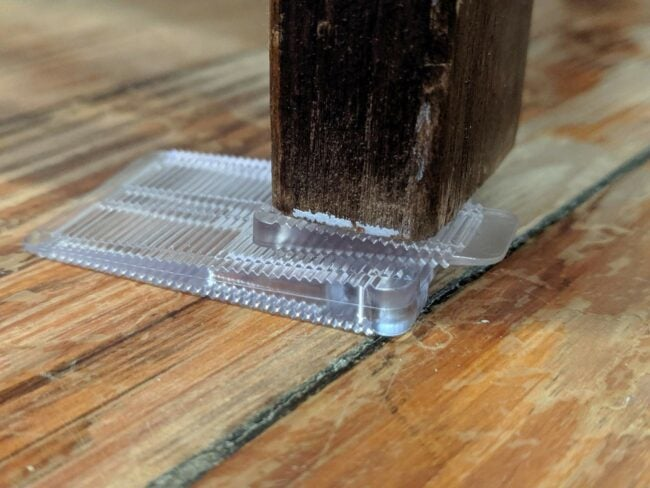
Furniture such as bar stools, table legs and benches may have a slight wobble. This imbalance is a concern, but not enough to take time to repair. In this case, heat bonding and coins can provide a quick, albeit temporary, solution. Of course, if you want a more serious solution, Amazon’s Furniture Leveler costs less than $15.
- Eliminate floor squeaks.
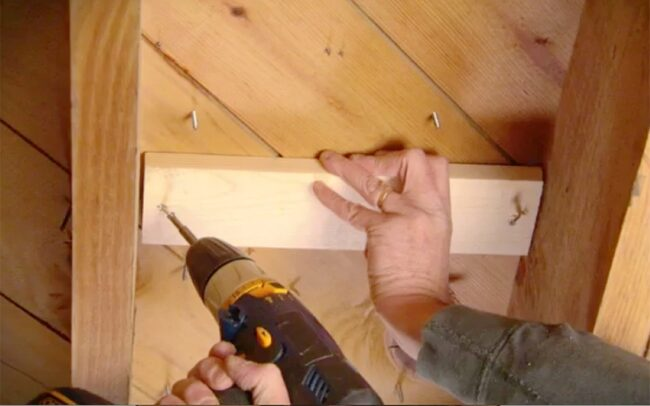
Preventing floor squeaks is more of a mid-level DIY project, but homeowners can always get help from someone with more experience. Whenever possible, you’ll want to try to solve the problem from under the floor.
You need to find out what’s causing the noise and know how to fix it. Small gaps between the subfloor and joists can be fixed with construction adhesive or shims, but larger gaps may need to be reinforced with 2x4s. To make sure the floor is quiet again, see the “How to fix a squeaky floor” guide.
- Replace old door handles.
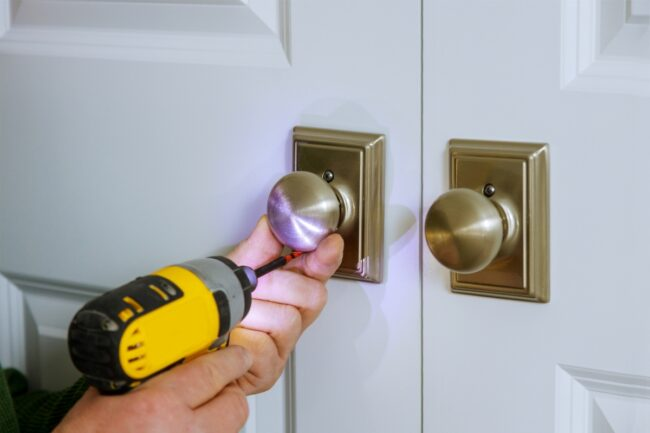
You may want to enhance the aesthetics, your current door handle doesn’t work well, or you want to replace it with one that has a handle to make it easier for someone with a limp to open the door. Whatever your reason for replacing your doorknob, it’s a relatively easy DIY project, as long as you have the right tools.
Depending on the design of the door handle, you may need to use an allen wrench, a clamp or a flat screwdriver to remove it. This page will show you how to remove and replace the door handle, so please use this page as a guide.
- Lubricate the lock.
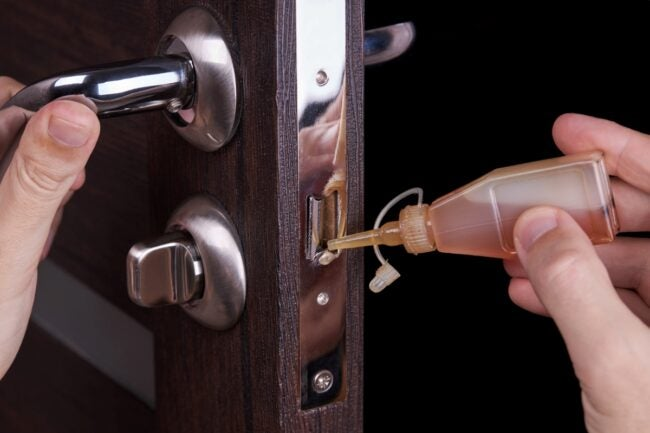
If you think any lock in your home is sticky, including door locks, garage locks and padlocks, don’t ignore it. If your locks are becoming difficult to open, it’s time to lubricate them before they get stuck and you end up hiring a locksmith.
Lubrication can also save you the cost of replacing your locks before you really need it. If you have a can of compressed air, use it to remove dust from the locks; WD-40 will take care of that in no time, but the real trick is to use a pencil. Pencil cores are made of graphite and have the same arrangement of carbon atoms as expensive lock lubricants. Simply wipe the outside of the lock and key with the pencil, then insert the key into the lock and the lock should come loose again.
- Replace the HVAC filter.

HVAC filters are an important preventive maintenance item and should be replaced regularly. HVAC filters are designed to trap dirt, dust and other particles, and it also protects appliances. This debris causes heating and air conditioning to work harder than necessary and can wear out quickly, at a cost far higher than the cost of a new filter. Air conditioning filters cost less than $20 each, but if purchased in bulk, the cost per filter is even less.
- Remove paint drips.
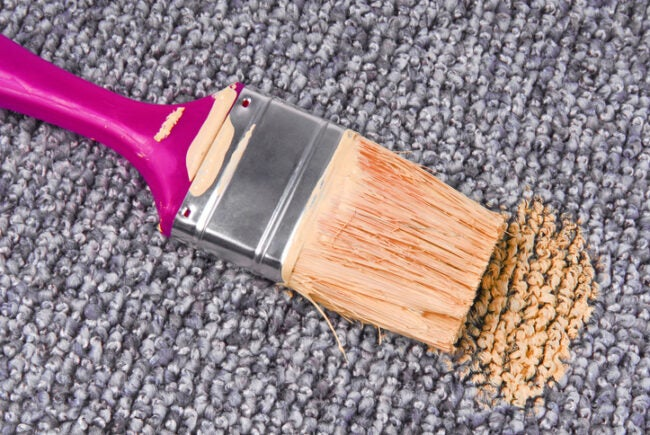
You may be hesitant to jump into your next home repair project because the last time you painted, you made a mistake that you can still see. Removing paint from a variety of surfaces requires a variety of techniques and materials, some of which you should already have in your home.
Detergent, safety razor blades, olive oil, glycerin, paint stripper, and wire balls are some of the materials that can help eliminate paint mistakes. Use our guide on how to remove paint to help you fix DIY mistakes.
- Clean dryer vents
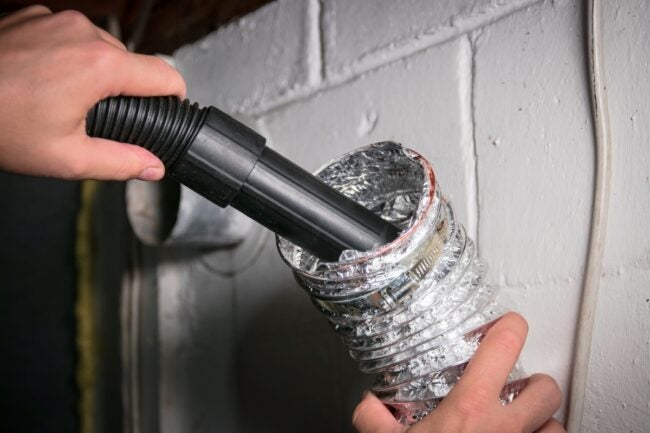
Lint buildup in dryer vents can make the unit less efficient, slow drying time, and increase the risk of fire behind the dryer. However, if your dryer isn’t working properly, is too hot to the touch or has a burning smell, you need to clean the ducts as well as the filter.
Fortunately, this is an easy and affordable project. Vacuum the vents with the hose attachment of your vacuum cleaner and select a basic kit from the “Dryer Cleaning Kits” guide to remove any debris left in the vents. Click here for step-by-step instructions for this project. Don’t forget the vents on the outside of your home. This is a great addition to your list of home maintenance items.
- Replace Outlet Covers
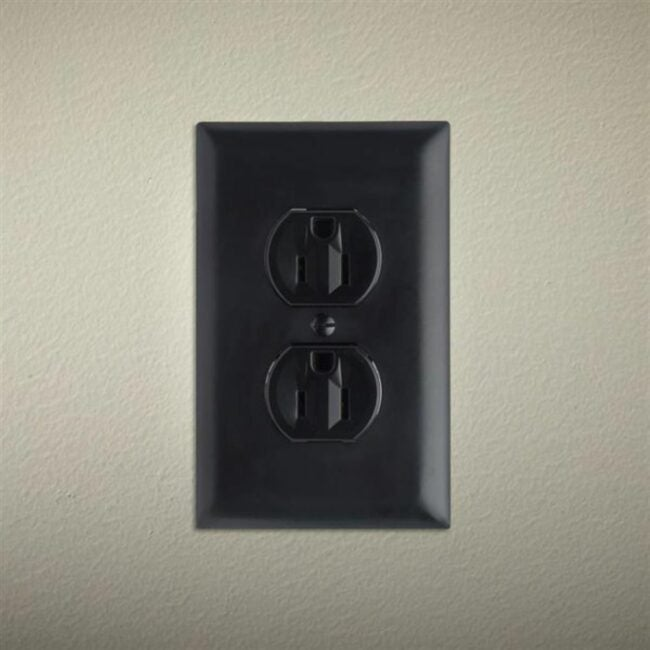
Mismatched or outdated outlet covers can look bad. With a flat-blade screwdriver and just a few minutes of your time, you can replace existing plates with a better design or unify all colors. There are a range of aesthetic options, from classic designs to eye-catching accents. We love the look (and price) of these modern outlet covers, available on Amazon.
- Repair unsightly wallpaper seams and bubbles.
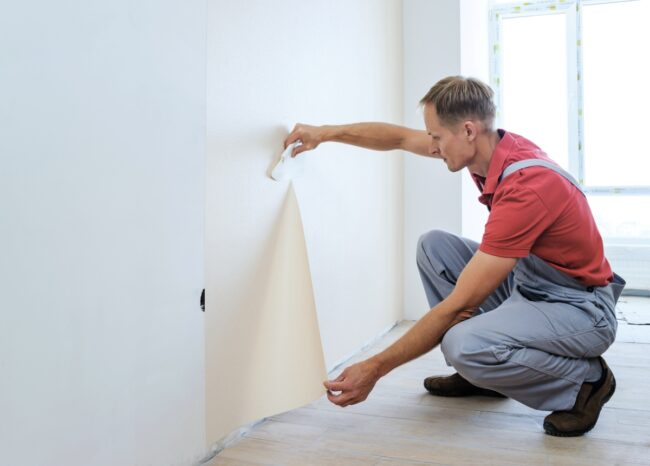
Peeling wallpaper can be caused by moisture, poor adhesives or improper installation. However, not all hope is lost. If you like the look of your wallpaper, it may still be salvageable. If the wallpaper is peeling from the seams, it’s actually quite easy to repair.
With an affordable wallpaper tool, you can either pull the seam back to where the wallpaper was fully adhered to the wall and re-paste it, or inject the adhesive into the wall’s air bubbles to make it smooth. Here are some tips on how to fix and repair peeling wallpaper.


