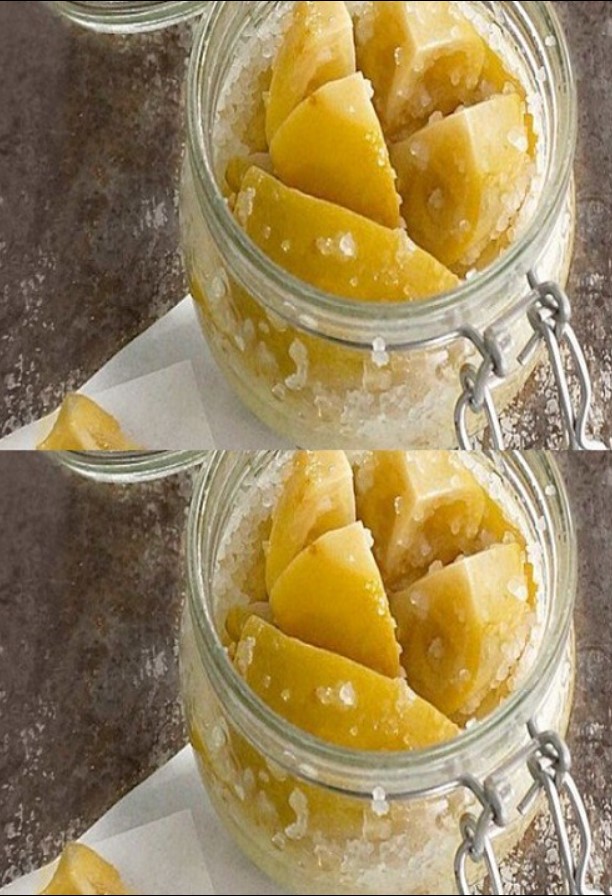
Lemons, with their vibrant yellow hue and tart flavor, are a staple in many kitchens around the world. But did you know that how you store these citrus fruits can significantly impact their longevity and freshness? For generations, a simple yet effective method has been passed down: dipping lemons in salt.
This age-old trick, often credited to the wisdom of grandmothers, not only preserves the lemons but also enhances their flavor over time. In this guide, we’ll delve into the reasons behind this technique and how you can apply it to keep your lemons fresh for months.
The Problem with Conventional Lemon Storage
Storing lemons in the refrigerator might seem like a no-brainer, but this common practice can actually do more harm than good. The cold, dry environment of the refrigerator can dehydrate the lemons, causing the zest to dry out and the fruit to lose its juicy texture. Additionally, lemons are particularly prone to mold growth due to their acidic pH, which creates an environment conducive to the proliferation of fungus spores. Once mold starts to form, it can quickly spread, leading to spoilage and waste.
The Science Behind Salt Preservation
Salt has been used as a preservative for centuries, thanks to its ability to draw moisture out of food and create an inhospitable environment for bacteria and mold. When lemons are dipped in salt, the salt works to dehydrate the surface of the fruit, reducing the likelihood of mold growth. Moreover, the salt enhances the natural flavors of the lemon, making them even more delicious when used in cooking or garnishing.
How to Preserve Lemons Using Salt
Here’s a step-by-step guide to preserving lemons with salt, ensuring they stay fresh and flavorful for months:
- Select Fresh Lemons: Start with ripe, undamaged lemons. Any bruises or cuts can accelerate spoilage.
- Prepare the Lemons: Wash the lemons thoroughly to remove any dirt or pesticides. Pat them dry with a clean towel.
- Slice the Lemons: Cut the lemons into thin slices or wedges, depending on how you plan to use them later.
- Prepare the Salt Solution: In a clean container, mix water with a generous amount of salt. The water should be saturated with salt, meaning it should be cloudy and taste very salty.
- Submerge the Lemons: Place the lemon slices in the container with the salt solution, ensuring they are fully submerged.
- Seal the Container: Close the container tightly and give it a gentle shake to ensure the salt is evenly distributed.
- Store in a Cool, Dark Place: Keep the container in a cool, dark place, such as a pantry. The lemons will be ready to use in a few weeks but can be stored for several months.
Benefits of Salt-Preserved Lemons
Beyond just preservation, salt-preserved lemons offer a variety of culinary benefits. The salt intensifies the lemon’s flavor, making it a fantastic addition to dishes like salads, stews, and marinades. The rind, which softens during the preservation process, becomes edible and adds a burst of citrusy goodness to any recipe.
Conclusion :
Preserving lemons in salt is a time-honored tradition that not only extends the shelf life of your citrus fruits but also enhances their flavor profile. This simple, natural method is easy to do at home and yields lemons that are perfect for a variety of culinary applications. So the next time you find yourself with an abundance of lemons, consider giving this old trick a try—you might just find that grandma’s method was the best all along.
Source of the picture : Barbara O’Neill Lectures


