Cleaning painted walls may seem like a daunting task, but with the right approach and tools, it becomes manageable and even straightforward. This guide will walk you through the process step-by-step, providing practical tips for maintaining the pristine condition of your painted surfaces, whether you are performing routine cleaning or tackling stubborn stains.

Before You Begin
Preparation is key to successful wall cleaning. Begin by protecting your floors with towels, newspapers, or another absorbent material to catch drips. Wearing rubber gloves can also prevent dirty water from dripping down your arms. To minimize drips, make sure to wring out your sponges thoroughly as you work.
Dealing with Mold and Mildew
Mold and mildew require special attention before you start cleaning the walls. To remove these, spray the affected areas with a solution of 1 part bleach to 3 parts water. Repeat this process as necessary, ensuring you work in a well-ventilated area with a fan on and windows open. If the mold is extensive or you are uncomfortable handling it, contact a professional mold remediation company to ensure all traces are eliminated, as mold can cause serious health issues.
Cleaning Walls Before Painting
Before painting, it’s crucial to clean your walls to provide a smooth, clean surface for the new paint. This involves removing dust and dirt:
- Cleaning painted walls: Use warm water mixed with mild soap to clean walls, which is suitable for most paint types.
- Cleaning drywall: Drywall is porous and should be cleaned with a vacuum or microfiber cloth, followed by a light wipe with a cellulose sponge dipped in water.
- Cleaning wallpaper: For vinyl and fiberglass wallpaper, mix 1 gallon of water with ½ cup Castile soap or mild dish soap and wipe with a nonabrasive sponge. For stains, use a solution of 1 cup water and ½ cup white vinegar.
Routine Maintenance Cleaning of Painted Walls
Regularly cleaning your walls helps prevent the buildup of dust and grime. Here’s what you’ll need:
- Vacuum cleaner with a dust brush attachment
- Cellulose sponges
- Bucket
- Sponge mop
- Mild dish soap
- Ammonia
- Distilled white vinegar
- Baking soda
- Soft lint-free cloths
- Long-handled microfiber dusting tool

Step-by-Step Cleaning Process:
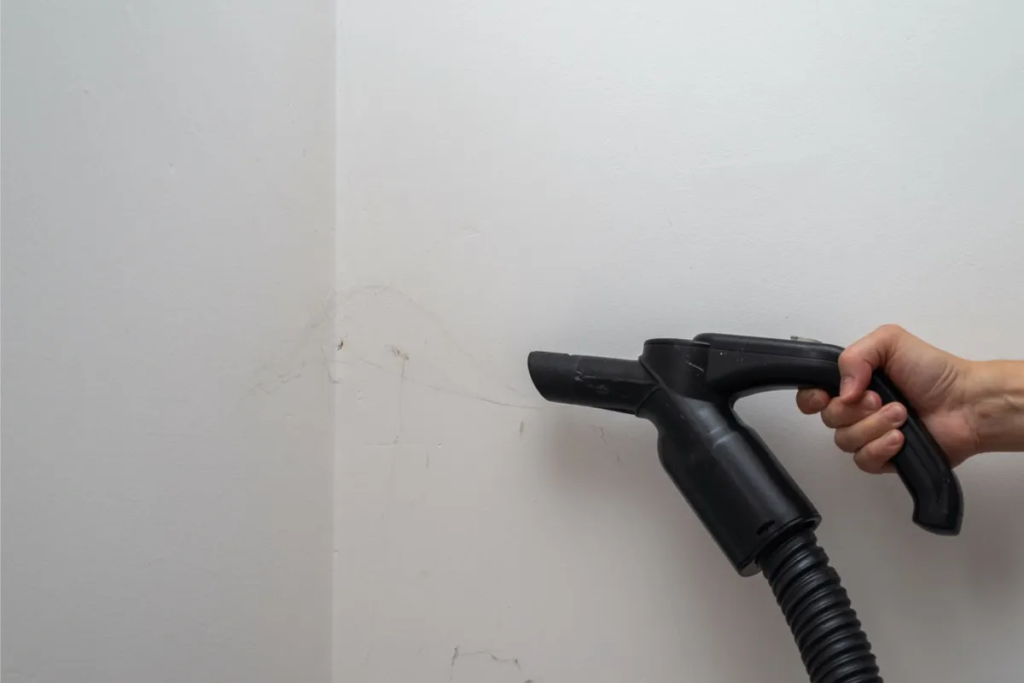
- Vacuum the wall thoroughly: Use a vacuum cleaner with a dust brush attachment to remove dust and debris from the walls, baseboards, and ceilings. A lightweight vacuum can help you reach higher areas more easily.
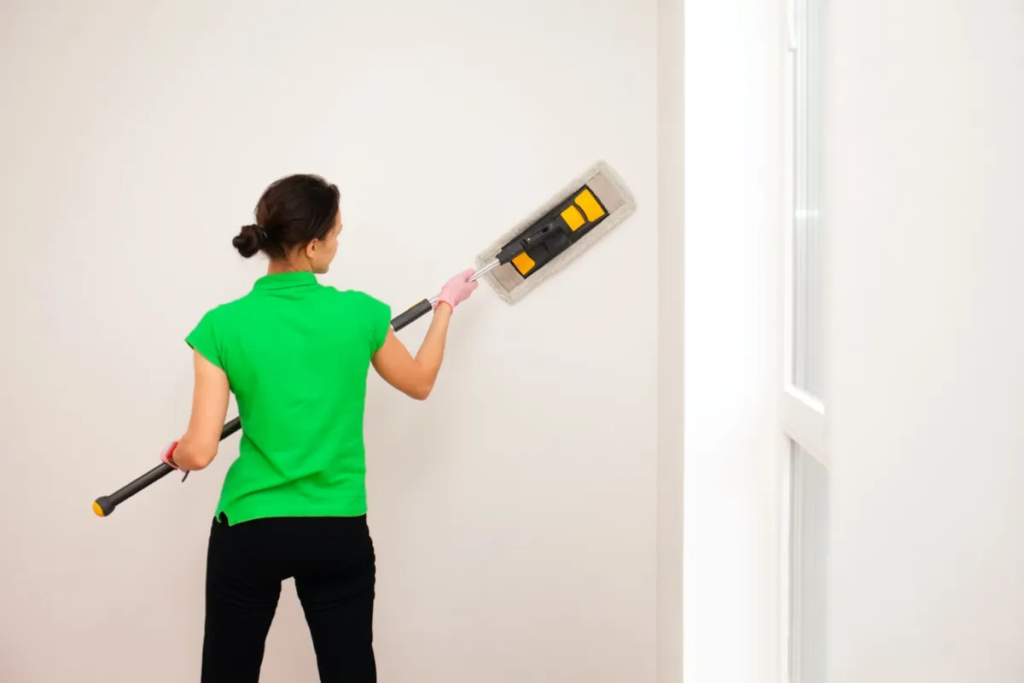
- Dampen a sponge and clean in a circular motion: Fill a bucket with warm water, dip a cellulose sponge in it, wring out excess water, and clean the walls using circular motions. For high areas, a clean sponge mop can be useful.
- Wipe down smudges and dirt with soapy water: If water alone doesn’t remove all the dirt, add a few drops of mild dish soap to fresh warm water and gently rub the walls.
- Use a stronger cleaning solution for stubborn stains: For tougher stains, mix 1 cup ammonia, ½ cup distilled white vinegar, ¼ cup baking soda, and 1 gallon warm water. Spray this solution on the walls and lightly scrub with a sponge.
- Rinse the walls: Finally, rinse the walls with a clean, damp sponge to remove any soap or chemical residues.
Removing Stains from Walls
For satin, semi-gloss, or other durable finishes, you can tackle stains with more aggressive methods:
Supplies Needed:
- Cellulose sponges
- Baking soda
- Lint-free cloths
- Commercial degreaser
- Mr. Clean Magic Eraser
- Long-handled microfiber dusting tool
Steps:
- Mix the stain remover: Combine ½ cup of baking soda with a small amount of water to form a paste. Test this mixture on a hidden area to ensure it doesn’t damage the paint.
- Apply the paste to the stain: Using a sponge, apply the paste to the stain, scrubbing lightly in a circular motion.
- Wipe with a dampened sponge: Remove the paste with a clean, damp sponge, ensuring all residue is wiped off.
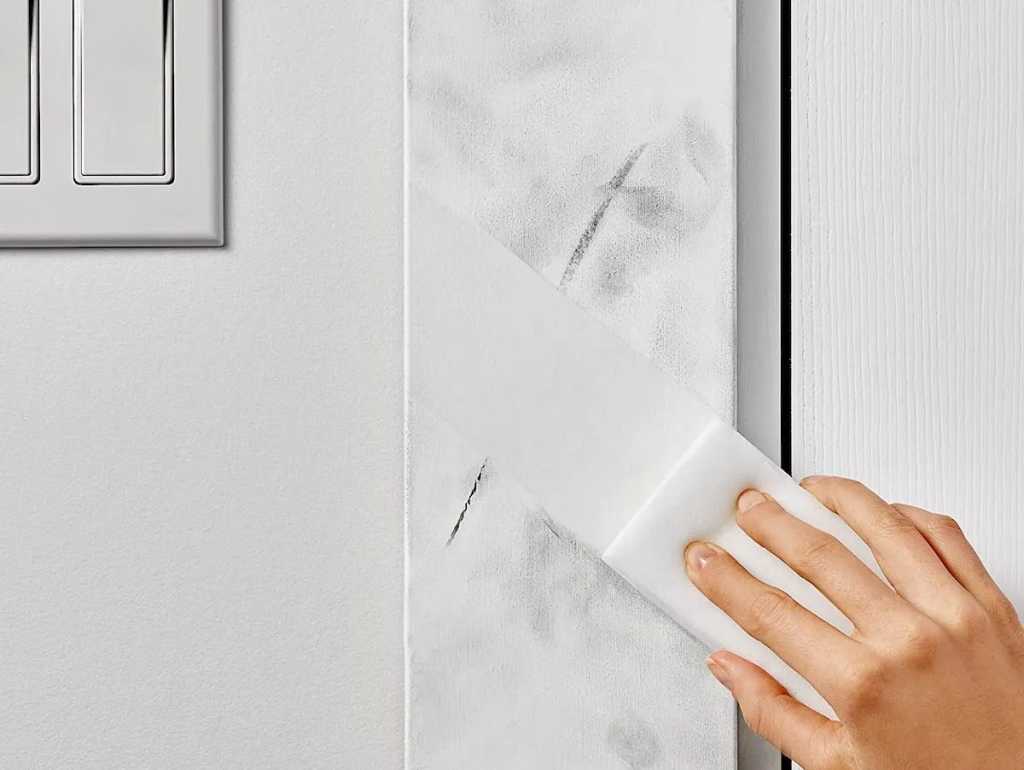
- Use a degreaser or Magic Eraser for tough stains: For persistent stains, a commercial degreaser or a Mr. Clean Magic Eraser can be effective.

Maintaining Clean Walls
Regular dusting with a long-handled microfiber tool every few months helps keep walls clean. Kitchens and bathrooms may need more frequent attention due to food splatters and steam marks. Regularly wiping these areas with a damp sponge will maintain their appearance.

Final Thoughts
Cleaning painted walls doesn’t have to be an overwhelming task. With the right tools and techniques, you can keep your walls looking fresh and clean. Whether you’re preparing for a new paint job or just maintaining your home, these steps will ensure your walls remain in top condition. Remember to work gently and use circular motions to avoid damaging the paint.
FAQs About Cleaning Walls
Q: Can you use Clorox wipes on walls? A: Clorox wipes should be used cautiously on walls, especially matte finishes, as they can ruin the paint. Always test on an inconspicuous area first.
Q: What household cleaning products will damage painted walls? A: Avoid abrasive cleaners. Mild soap and water usually suffice. For tougher stains, use a gentle paste of baking soda and water.
Q: Do you need to rinse vinegar off walls before painting? A: Yes, rinse off the vinegar and ensure the walls are completely dry before painting to prevent the paint from blistering.
Armed with this comprehensive guide, you’re ready to take on the task of cleaning your painted walls, ensuring they look great and last longer. Happy cleaning!
Source of the picture : bobvila


