
Maintaining your clothes dryer is more than just a matter of convenience—it’s a crucial safety measure. A clogged dryer vent not only slows down your laundry routine but also poses a serious fire hazard. However, fear not! With our comprehensive guide to dryer vent cleaning, you’ll learn how to keep your appliance running smoothly and safely while saving both time and money.
Understanding the importance of regular maintenance, we’ll take you step-by-step through the process of cleaning your dryer vent, ensuring your appliance operates efficiently and your home remains secure. From unplugging the dryer to safely reattaching the vent hose, we’ve got you covered. Let’s dive in!
Step 1: Power Down Safely
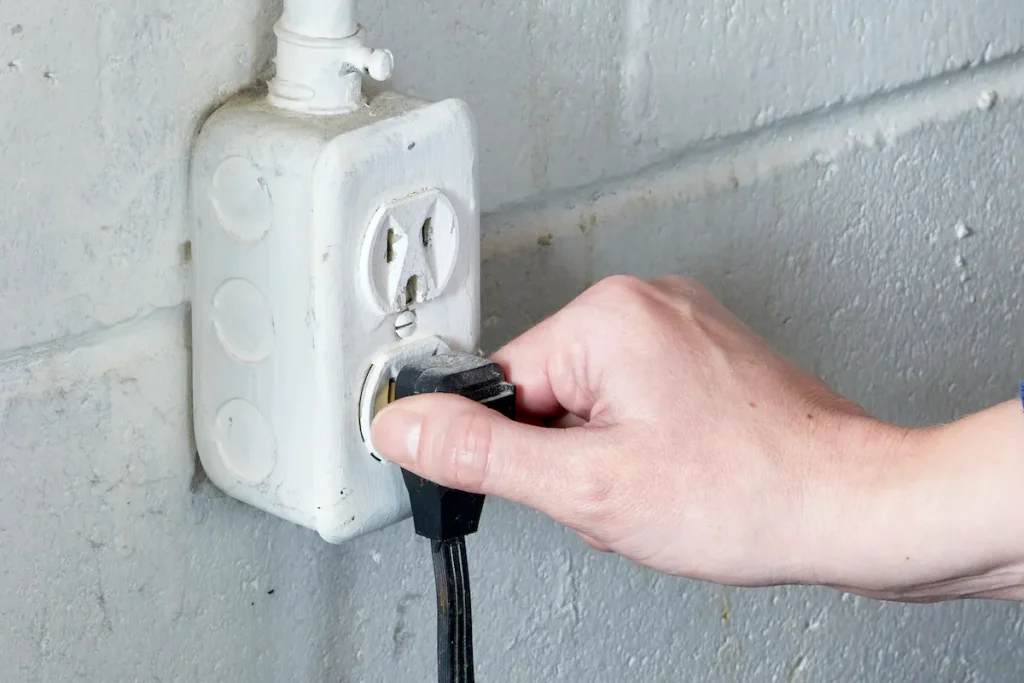
Before diving into any maintenance task, safety should always come first. Begin by disconnecting the power to your dryer. For electric dryers, simply unplug the unit from the outlet. If you have a gas dryer, be sure to close the gas valve as well. Remember, if the appliance is too heavy to move alone, don’t hesitate to enlist the help of a friend or family member to prevent any injuries.
Step 2: Locate and Disconnect the Vent Hose
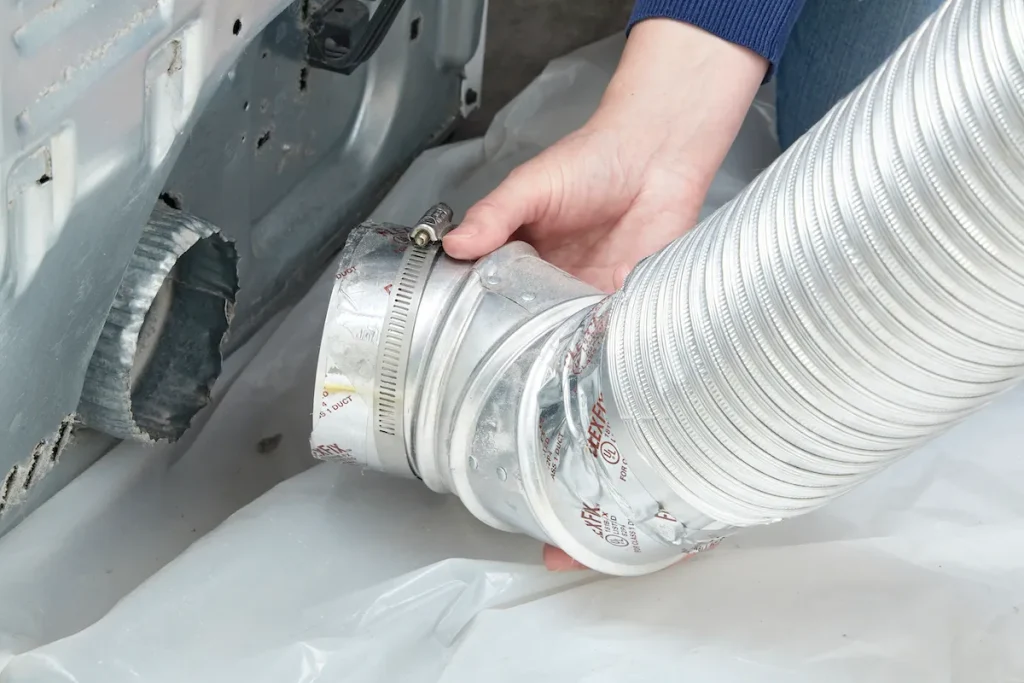
Identifying your dryer vent is the next crucial step. Typically, it’s a thick silver or white hose located at the back of the dryer. Once located, carefully detach the vent hose using a screwdriver to loosen any clamps holding it in place. Depending on your setup, you may need to detach the hose from both the dryer and the wall.
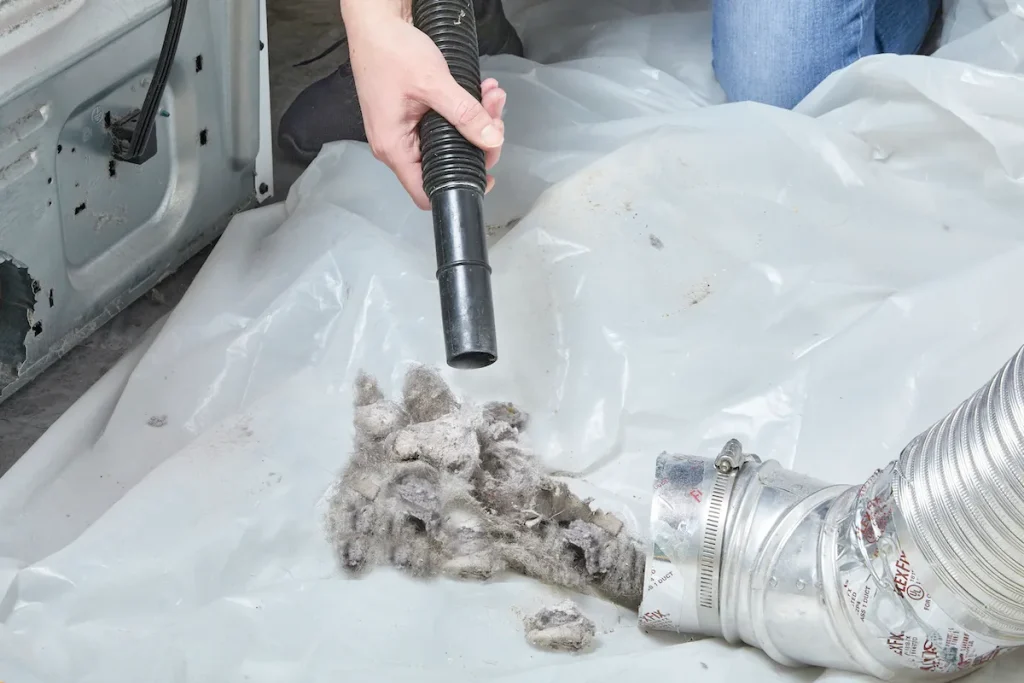
Step 3: Thoroughly Clean the Vent Hose
With the vent hose disconnected, it’s time to tackle the buildup of lint and debris. You have several options for effectively removing the blockage:
- Utilize a dryer vent cleaning brush to break up the clog, ensuring a thorough clean.
- Employ the hose attachment on your vacuum cleaner or shop vac to suction out any clumps of lint and hair.
- Consider using a leaf blower to carefully blow out excess debris, ensuring to direct the airflow into a garbage bag to contain the mess.
Step 4: Dispose of Debris and Reattach the Hose
Once the vent hose is clean, it’s essential to dispose of the collected debris responsibly. Whether inside or outside your home, ensure all debris is properly cleaned up. Then, reattach the hose to the dryer and securely tighten any clamps. Gently slide the dryer back into its original position against the wall.
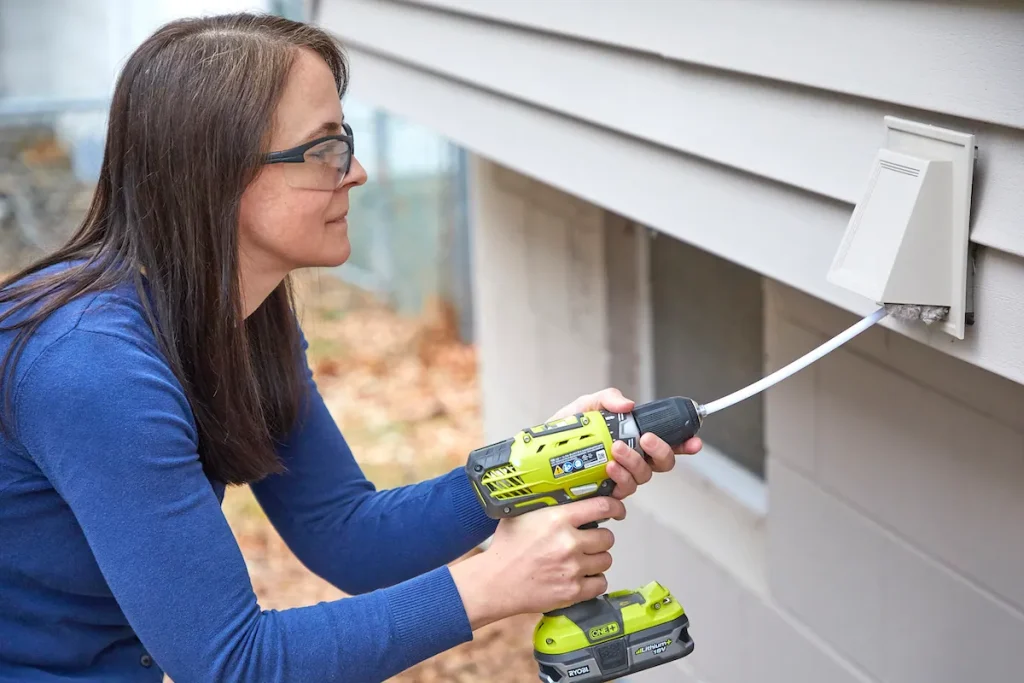
Step 5: Clean the Exterior Vent Cover
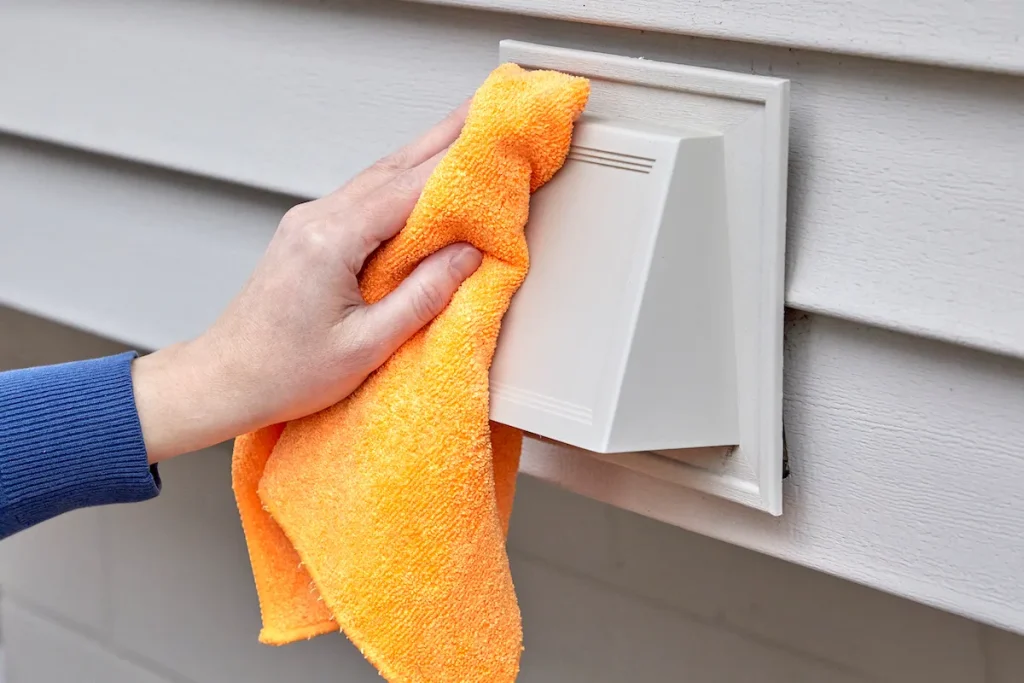
Don’t forget about the exterior vent cover! Clear any accumulated lint and debris using your hands or a vacuum attachment. Wipe down the vent cover with a microfiber cloth to ensure it’s completely clean and free from obstructions.
Conclusion:
Congratulations! You’ve successfully mastered the art of dryer vent cleaning, ensuring your appliance operates efficiently and your home remains safe from potential fire hazards. By following these simple steps regularly, you can enjoy peace of mind knowing your dryer is functioning at its best.
Remember, safety should always be your top priority when performing maintenance tasks on any appliance. With proper care and maintenance, you can extend the lifespan of your dryer while keeping your home safe and secure. Happy drying!
image source : bob vila


