
Cast-iron cookware has long been cherished for its exceptional heat distribution and its ability to craft delightful dishes like succulent steaks and crispy pizzas. Whether you’ve stumbled upon a neglected skillet in a flea market, discovered one in your family’s attic, or simply want to revive a worn-out favorite, restoring and seasoning cast-iron pots and pans can give them a new lease on life.
What You’ll Need:
- Oven with self-cleaning feature or regular oven
- Aluminum foil
- Heat-resistant gloves
- Large bucket or bin
- Water
- Distilled white vinegar
- 1 tablespoon of dishwashing liquid soap
- Scrubbing brush or steel wool (optional)
- Paper towels or rags
- Peanut oil
It is common for rust and dirt to overlap, but that doesn’t mean you should throw away the pans.
Step 1: Preparing for Restoration
Plan for a day where you can open the windows or be working outside while the cleaning setting is activated to avoid harsh odors.
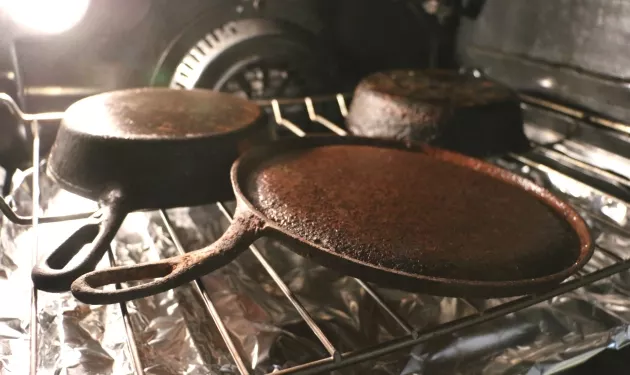
Begin by lining the bottom rack of your oven with aluminum foil. Place the cast-iron pan upside down on the top rack. This foil will catch any debris during the cleaning process, simplifying cleanup later.
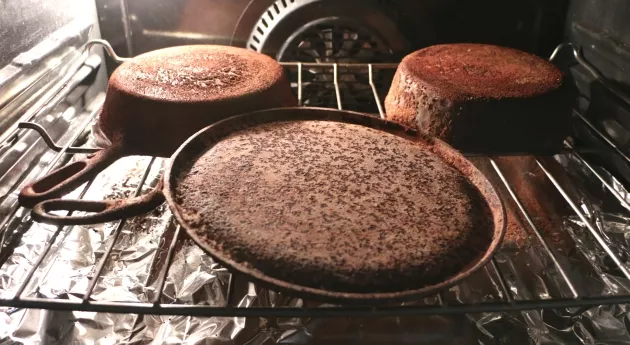
Step 2: Self-Cleaning or Manual Cleaning
Plan a day when you can open a window or work outside while the cleaning setup is running so that the smell is not too strong.
If your oven has a self-cleaning setting, enable it and allow the cycle to complete. However, if your oven lacks this feature, set it to 425 degrees Fahrenheit and check the pan after two hours. When the cycle is done, take the pan out of the oven and let it cool. At this stage, while the pan may still appear rusty, most of the built-up residue should be loose.
Step 3: Soaking and Degreasing
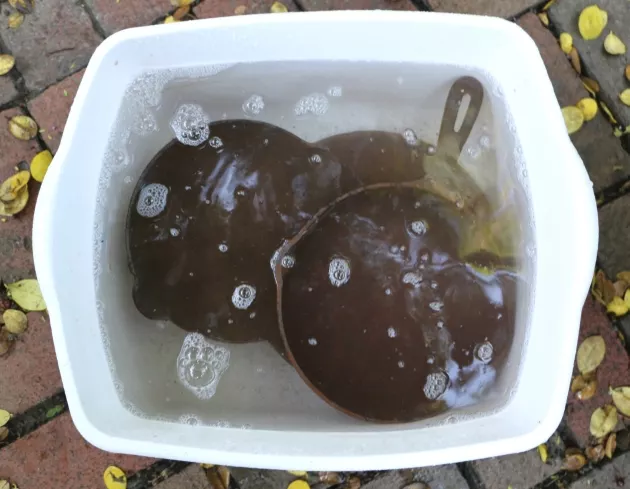
The more rust there is in the pan, the longer it will take to soak.
Prepare a solution by combining equal parts water and white vinegar and adding a tablespoon of liquid dishwashing detergent. Soak the cast-iron pan in this mixture for about three hours.
Step 4: Cleaning and Drying
If there is still rust or stains, continue to scrub with a sponge or fine wire ball until smooth.
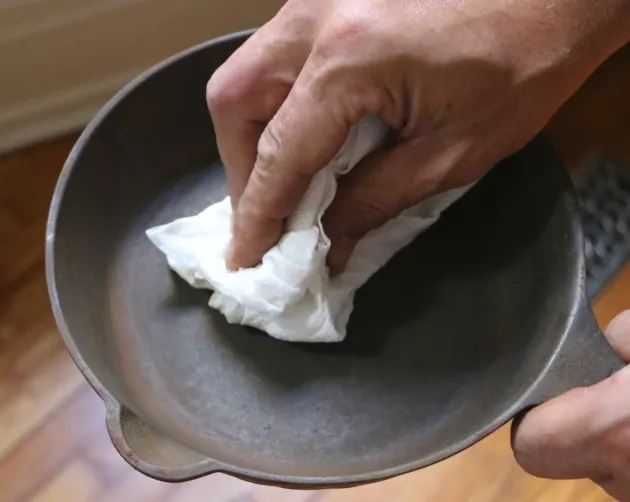
Remove the pan from the soaking solution and rinse it thoroughly. Wipe away any remaining dirt using a paper towel or a rag until the pan is completely dry.
Step 5: The Seasoning Process
If you already have a cast iron pan that needs seasoning, try the following steps.
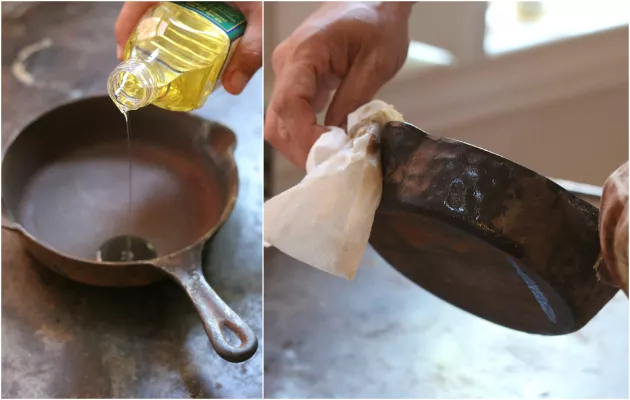
Now it’s time to season the pan, a crucial step in creating a non-stick surface that, when properly maintained, will last a lifetime. Apply a thin layer of peanut oil to the pan’s interior, exterior, and handle.
Step 6: Final Seasoning
The pan is already seasoned and ready to use.
Place the pan upside down on the top shelf of your oven and heat it at 350 degrees Fahrenheit for one hour. This process allows the pores of the cast iron to absorb the oil and then seal them shut as it cools, preserving the oil and creating a gleaming finish. Once removed from the oven, your pan is ready for use.
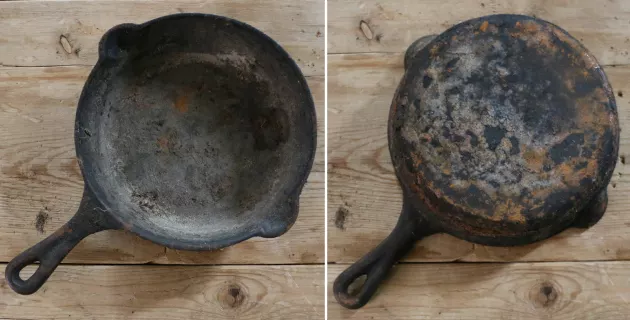
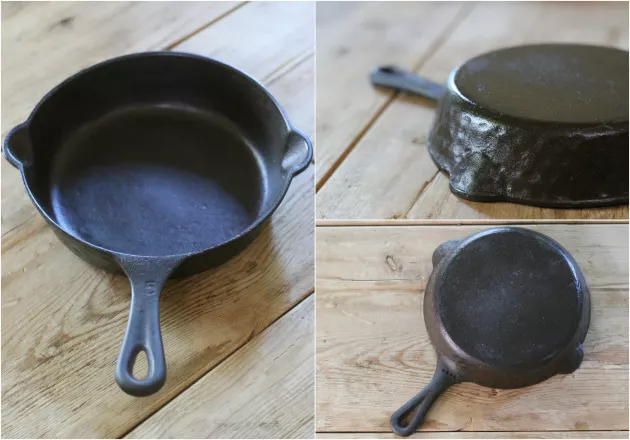
Before and After
It’s hard to believe that the skillet is rusty and dirty.
This restoration method breathes new life into cast-iron cookware that might otherwise be destined for the trash. The result is a beautifully revived piece of culinary history, perfect for both cooking and display. These timeless kitchen companions are truly invaluable when given the care they deserve.
image source: ehow.com


