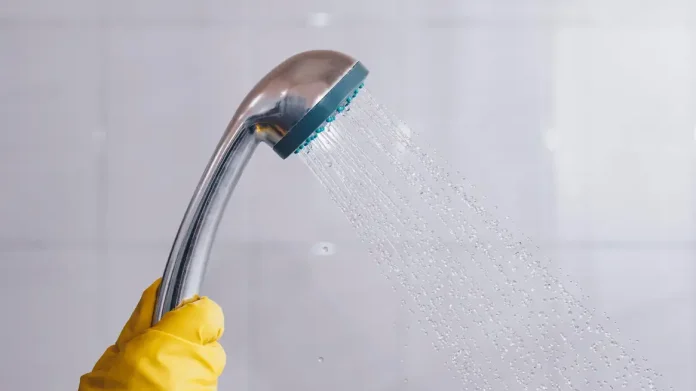
After a long day, there’s nothing more rejuvenating than a refreshing shower. However, if you’ve noticed weakened water pressure or inconsistent water flow from your showerhead, it might be time to give it some much-needed attention. Much like realizing you’ve been sipping from a moldy water bottle, discovering that the apparatus meant to cleanse you is harboring dirt and grime can be quite unsettling. Showerheads are often overlooked during routine cleaning, but they are a key component of your daily hygiene routine, deserving of regular maintenance.
Why Showerheads Need Cleaning
Showerheads may not come into direct contact with your body, but they can accumulate mold, mineral deposits, and even bacteria. In regions with hard water, you’re likely to encounter clogged showerhead nozzles due to the buildup of minerals like limescale. Understanding when and how to clean your showerhead can help ensure a consistent and satisfying shower experience.
When to Clean Your Showerhead
The frequency of showerhead cleaning can vary, but a recommended soaking method is to do it once a month. Alternatively, incorporate showerhead maintenance into your routine deep cleaning regimen. Regardless of your cleaning habits, if you notice a significant drop in water pressure or uneven water distribution from your showerhead, it’s a clear sign that contaminants have accumulated.
Cleaning Your Showerhead: What You’ll Need
- For Detachable Showerheads:
- 4 cups of white vinegar (or enough to submerge the showerhead)
- 1/2 cup of baking soda (optional)
- 1 cup of water
- A large container or bathtub
- Optional: toothbrush or scrubbing brush
- For Non-Removable Showerheads (requires soaking in place):
- Large plastic bag (sized to cover the showerhead)
- Rubber bands or zip ties
Step-by-Step Guide to Showerhead Cleaning
For Detachable Showerheads:
- Unscrew the showerhead manually or use a wrench if needed.
- In a large container or bathtub, mix vinegar, water, and optional baking soda.
- Completely submerge the showerhead in the solution.
- Soak it for the necessary duration to clean thoroughly, which can vary.
- Optionally, after soaking, use a toothbrush or brush to clean any remaining dirt.
- Rinse the showerhead thoroughly to remove excess vinegar. Ensure the water runs completely clear.
- Wipe the showerhead with a soft cloth, and safely dispose of any remaining vinegar mixture down the drain.
- Reattach the showerhead to its original position and run the water until any lingering vinegar odor dissipates.
For Non-Removable Showerheads:
- Prepare a rubber band or zip tie at the base of the showerhead.
- Fill a large plastic bag with the vinegar, water, and optional baking soda mixture.
- Wrap the bag securely around the showerhead, ensuring it is fully submerged. Use the prepared rubber bands or zip ties to secure it.
- Follow steps 4-7 from the previous section.
Note: If you have brass, gold, or nickel-coated showerheads, avoid exceeding a soaking time of 30 minutes to prevent damage to the finish.
Maintaining a Clean Showerhead
To prevent scale buildup, it’s best to stay ahead of the problem. Fill a spray bottle with a solution of diluted vinegar (1 part vinegar to 1 part water) and use it during your regular bathroom cleaning routine to spray and clean the showerhead.
Conclusion
With a clean and well-maintained showerhead, you can enjoy a revitalizing shower experience with consistent water pressure and flow. By incorporating these cleaning and maintenance practices into your routine, you’ll ensure that the appliance responsible for your personal hygiene remains as refreshing as the showers it provides. So, celebrate your efforts, and relish the renewed quality of your water pressure.
image source : lifehacker.com


