When I go grocery shopping, bread is one of those things that I always seem to buy way too much of. Because of this, I often find myself freezing entire loaves of bread and packages of english muffins. A lot of the time, when I go to thaw the bread, it tastes hard and stale. And there are few things worse than tossing entire packages of bread into the trash!
If you’ve had similar experiences with freezing bread, you’re going to want to know about this hack. It will help to keep your frozen bread fresh for longer and ensure that when you go to thaw it, the bread isn’t hard as a rock. Thanks to PopSugar for sharing this helpful hack!

Directions:
Step 1: Within 24 hours (maximum) of cutting into a loaf, slice up the remaining bread. (Don’t wait until it’s already turned the corner; at that point, your best bet is giving leftovers a second life as croutons, breadcrumbs, or bread pudding.) Don’t just stick the bread in the freezer unsliced. Unless your kitchen is equipped with a buzz saw, there’s no chance you’re going to be able to slice it without thawing the entire loaf first (trust us, we’ve tried).
Step 2: Line a rimmed baking sheet with parchment or wax paper, arrange the slices in one layer on top of that, and put it in the freezer, uncovered, until frozen solid. (The parchment will prevent the gorgeous, moist crumb of the bread from sticking to the pan, and the single layer will prevent the slices from freezing stuck to each other.)
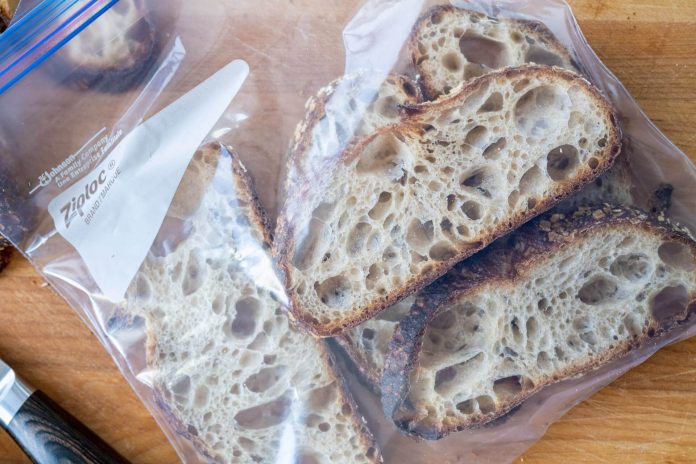
Step 3: Once the bread slices are frozen, transfer them to a resealable freezer bag, removing as much air from the bag as possible.
Step 4: When a bread craving hits, take out just as many slices of bread as you’ll eat then, and either let them thaw at room temperature, or put them directly in the toaster (they’ll take about one extra minute to toast). The texture of the bread will be about 95 percent as good as fresh bread and far better than second-day, already-starting-to-go-stale bread. Stored frozen (in a resealable freezer bag), sliced bread will stay fresh and delicious for at least six months, if not longer.


