
“Many homeowners often ponder a common question: how to eliminate the once-trendy popcorn-textured ceiling that has fallen out of favor. The process of uncovering the secret to removing a popcorn ceiling texture can be messy, yet it can be a rewarding endeavor if the underlying ceiling is in good condition.
Popcorn ceilings, a design trend from decades past, have long lost their appeal. For new homeowners, finding ways to rid their homes of this dated feature is a common pursuit. Removing the popcorn texture may seem straightforward, but it can become a challenging task if not executed correctly.
This article aims to provide practical solutions for addressing this issue with ease and precision, minimizing the mess in the process. We’ll explore some valuable tips on how to effectively remove popcorn ceilings. But before delving into the details, let’s understand what popcorn ceilings are.
Popcorn ceilings can cast a shadow of age and darkness over a room. Fortunately, it’s possible to remove this textured coating and reveal a smoother surface underneath. Here’s a step-by-step guide on how to accomplish this.
For a significant period, spanning from the 1950s to the 1980s, many newly constructed homes, particularly in bedrooms, featured a coarse, stippled texture known as “popcorn” ceiling. Popcorn ceilings were initially prized for their sound-dampening properties, but the primary reason for their popularity was simplicity. They concealed ceiling imperfections, making it easier for professional architects to work with. However, they have drawbacks, such as reduced light reflection and a generally unattractive appearance that many homeowners dislike. Fortunately, removing popcorn ceilings is feasible, and while it may be a messy and labor-intensive process, the outcome can make it well worth the effort.
Step One:
Step One:
Before embarking on any removal process, it’s crucial to have the popcorn texture tested by an EPA-approved laboratory. In homes built before 1982, asbestos was a common ingredient in sprayed ceilings. If asbestos is detected, it’s highly advisable to engage a professional trained and licensed to handle hazardous materials. However, if the inspection reveals a paper-based popcorn texture, you can undertake the removal yourself. As this is a water-based procedure, it’s wise to disconnect the power supply to the room where you’re working.
Step Two:
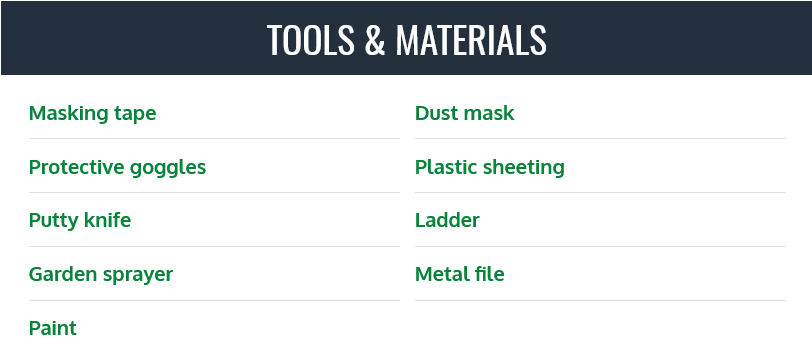
Prepare for the mess. Removing a popcorn ceiling inevitably creates a mess, but by taking proper precautions, you can minimize post-project cleanup. Start by clearing all furniture from the room, then protect the floor and the lower 16 inches of each wall with heavy plastic sheeting, secured in place with masking tape.
Don’t forget to safeguard the upper walls. Tape around the room’s perimeter, about 1/4 inch below the ceiling, and add another layer of tape on top. Ceiling fixtures, such as fans, crown molding, or pendant lights, should be removed if they are in the way at this stage.
Step Three:
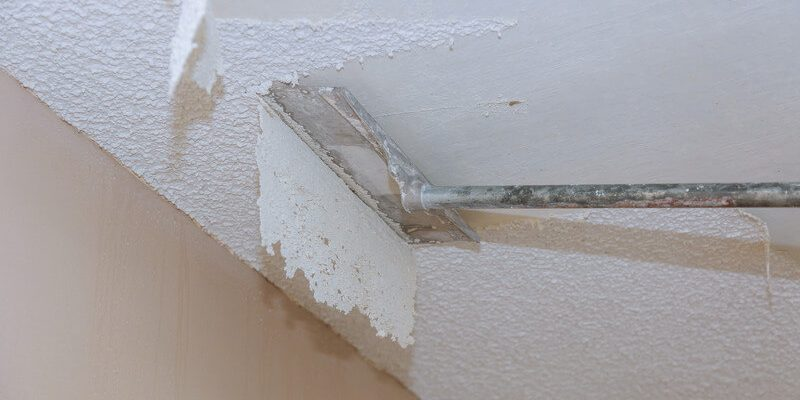
Divide the ceiling into manageable 4-foot-square sections. Using a garden sprayer, thoroughly moisten the first section and let the water soak for 10-15 minutes. Once it’s ready, position a ladder under the dampened section, put on a dust mask and safety glasses, and ascend the ladder. Place a putty knife at a 30° angle to the ceiling and commence scraping off the popcorn. The technique here is simple: spray, wait, and scrape. Continue working this way, section by section, around the room.
Step Four:
Carry on until you’ve successfully removed the popcorn ceiling, unveiling the drywall surface below. If you’ve covered the walls and floor with plastic sheeting, you may want to prime and paint the ceiling. In that case, remove the sheeting once the final topcoat has dried. But remember to reinstall the ceiling fixtures and restore power. You’ll immediately notice the transformation; everything appears brighter in a room without popcorn ceilings. Don’t you agree? Enjoy the results.”
I hope you find this rephrased version suitable. If you need further adjustments or have specific preferences, please feel free to let me know.
PICTURES SOURCE : homeremediesseasy/ dallaspaints


