
Door drafts not only bring discomfort but also lead to increased energy consumption. Combatting this issue is as simple as weatherstripping your doors correctly. According to Energy Star, proper weatherstripping can save up to 20 percent on heating and cooling costs. While this may seem like a straightforward DIY project, ensuring the weatherstripping is installed correctly is crucial for optimal insulation. This guide will take you through the process, step by step, to help you weatherstrip your doors efficiently.
How to Efficiently Install Weatherstripping for Doors:

Door drafts can be alleviated with the right weatherstripping. Follow these steps to ensure a successful installation:
Step 1: Prepare the area and take measurements.
Begin by cleaning the door and jamb thoroughly. Measure the sides, top, and bottom of the door to determine the required length of weatherstripping.
Step 2: Tighten the door’s hinges.
Before cutting the weatherstripping, ensure that the door hinges are tight to provide a snug fit. Lift the door using the doorknob and tighten any loose screws on the hinges.
Step 3: Measure the jamb.
Measure the gap between the door and the jamb along the sides and top. Additionally, measure the width of the jamb. Purchase enough weatherstripping to cover the width and height of the door, plus an extra 10 percent.
Step 4: Choose the correct weatherstripping.
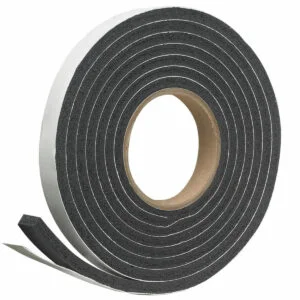
Select weatherstripping material based on your preferences and needs. Options include felt, easy-install foam, and durable rubber. Consider the pros and cons of each before making a choice.
Step 5: Cut your weatherstripping into segments and check the cut.
Cut three pieces of weatherstripping—one for the top and two for the sides. Before permanent installation, hold them against the doorframe to confirm the lengths are accurate.
Step 6: If required, adjust the cut.
If any strips are too long, trim the excess after installation. If they are too short, reevaluate your measurements and cut new pieces.
Step 7: Tack, snap, or adhere the weatherstripping to the door.
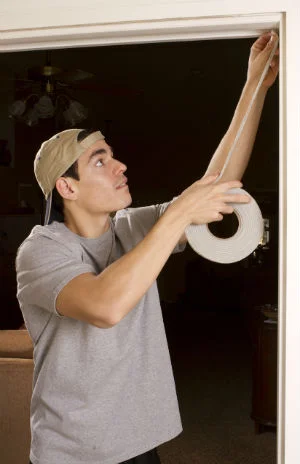
Apply the weatherstripping to the door jamb, not the door itself. Use adhesive backing or reinforce with heavy-duty staples or small tacking nails for a secure fit.
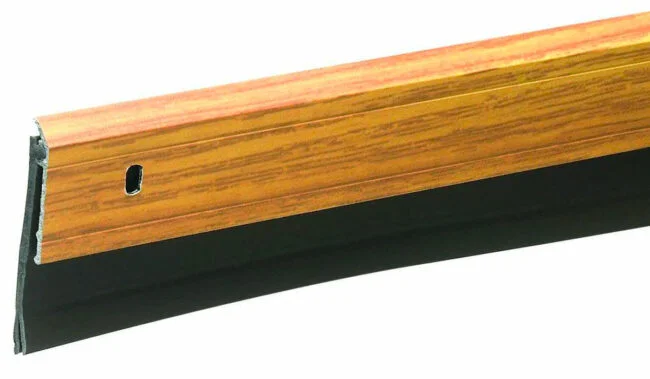
Step 8: Install a door sweep.
Complete the weatherstripping by installing a door sweep along the bottom. Adjust the sweep for a tight seal against the threshold using screws provided.
The Many Benefits of Efficient Door Weatherstripping:
- Significant savings on energy bills, up to 20 percent.
- Prevention of rain from entering under the door.
- Acts as a barrier against insects.
FAQ About Efficient Door Weatherstripping:
What is the best weatherstripping for doors?
Gaskets and sweeps are often recommended by professionals and DIYers for effective door weatherstripping.
How do I stop rain from coming under my door?
Properly applied weatherstripping, such as sweeps, can prevent rain from entering under your door.
Conclusion:
Weatherstripping is a cost-effective and efficient solution for enhancing home comfort and reducing energy bills. By following these simple steps, you can install weatherstripping correctly in less than an hour. The benefits extend beyond energy savings, providing protection against rain and insects. Make this quick and easy home improvement project a priority to ensure a cozy and energy-efficient living space.
image source : istock photo – home depot


