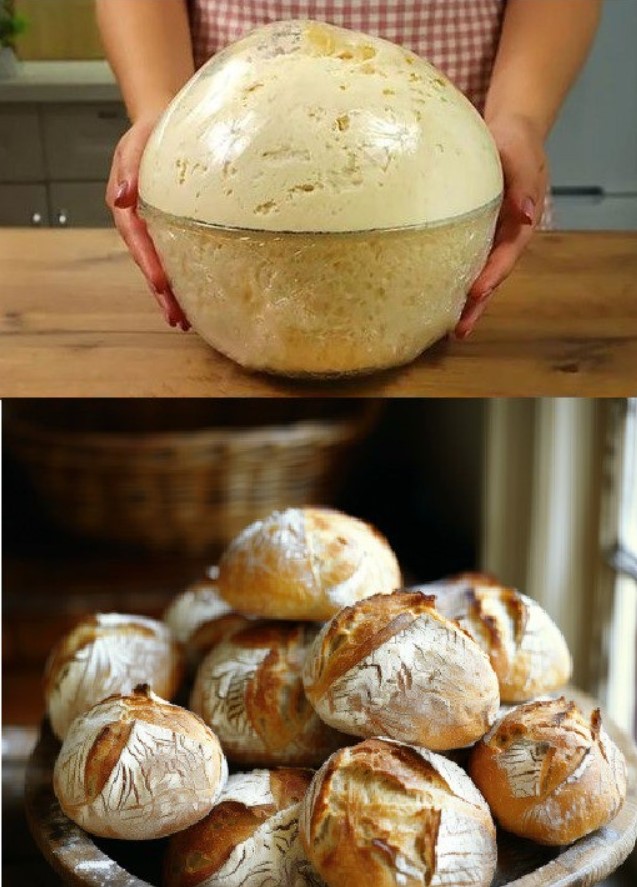
There’s something truly magical about the simplicity of homemade bread. This recipe, passed down through generations, proves that you don’t need a pantry full of fancy ingredients to create something wonderfully comforting.
Just a few basic items—flour, water, and milk—combine to produce a fluffy, fragrant loaf that will fill your kitchen with warmth and nostalgia. Whether you’re a seasoned baker or a newbie, this step-by-step guide will walk you through the process of making this wholesome bread that my grandmother perfected.
Ingredients :
- 3 cups all-purpose flour
- 1 ½ cups warm water
- ½ cup whole milk
- 2 tsp active dry yeast
- 1 tsp sugar
- 1 ½ tsp salt
- 2 tbsp olive oil (optional)
Introduction:
The Power of Simplicity in Baking
Bread baking has always been a cherished tradition in my family, and it all started with my grandmother. She believed that the best things in life come from simple, quality ingredients. This bread recipe is a testament to that philosophy. Made with only flour, water, and milk, it’s a reflection of how uncomplicated ingredients can create something exceptional. There’s no need for complicated techniques or hard-to-find components—just wholesome, everyday items. This loaf is perfect for breakfast, lunch, or even an afternoon snack. And trust me, once you try it, you’ll be thanking my grandmother, just like I do every time I bake it.
Instructions :
- Activate the yeast: In a small bowl, mix the warm water, yeast, and sugar. Stir lightly and let it sit for about 5-10 minutes until the yeast becomes foamy. This step is essential for ensuring your bread rises properly, so be patient as the yeast works its magic.
- Mix the dry ingredients: In a large mixing bowl, combine the flour and salt. These basic ingredients will form the foundation of your bread.
- Incorporate the wet ingredients: Once the yeast is activated, slowly pour it into the flour mixture. Then, add the milk and olive oil (if using) to the bowl. Using a wooden spoon or a stand mixer with a dough hook attachment, mix everything together until a dough forms. The olive oil is optional, but it adds a subtle richness and softness to the bread that makes each bite a little more special.
- Knead the dough: Transfer the dough onto a lightly floured surface and knead it for about 8-10 minutes. This process is crucial because it develops the gluten in the dough, giving the bread its structure and chew. If you’re new to kneading, don’t worry—it’s a straightforward process. Simply fold the dough over itself, press down, and repeat. The dough should become smooth and elastic.
- Let it rise: Once kneaded, shape the dough into a ball and place it in a lightly greased bowl. Cover it with a clean kitchen towel and leave it to rise in a warm spot for about 1-2 hours, or until it has doubled in size. This rise time allows the yeast to work, giving your bread that airy, soft texture.
- Shape the loaf: After the dough has risen, punch it down gently to release the air. Then, shape it into a loaf or roll it into individual pieces if you prefer smaller bread portions. Place the dough into a greased loaf pan or on a baking sheet.
- Final proofing: Cover the dough again and let it rise for another 30-45 minutes. This second rise will give your bread the perfect lightness before baking.
- Bake: Preheat your oven to 375°F (190°C). Once ready, bake the bread for 25-30 minutes or until the crust turns a golden brown. You’ll know it’s done when the bread sounds hollow when tapped on the bottom. For an extra crispy crust, you can brush the top with a little water or milk halfway through baking.
- Cool and enjoy: After baking, let the bread cool on a wire rack for at least 15 minutes before slicing. This resting period allows the interior to set, making it easier to cut into beautiful slices. Serve with butter, jam, or your favorite spread.
Conclusion:
The Legacy of Homemade Bread
There’s something deeply satisfying about making your own bread, especially when it’s a recipe that has stood the test of time. This humble loaf, with its few ingredients and straightforward method, is a reminder of how the simplest foods often bring the most comfort. Each slice carries with it the legacy of my grandmother’s kitchen, where love, care, and a few pantry staples turned into the most memorable meals. Whether you’re sharing it with family or enjoying it on your own, this bread will undoubtedly become a staple in your home, just as it has been in mine.
Thank my grandmother for the inspiration, but take credit for the delicious result!
Source of the picture : Barbara O’Neill Lectures


