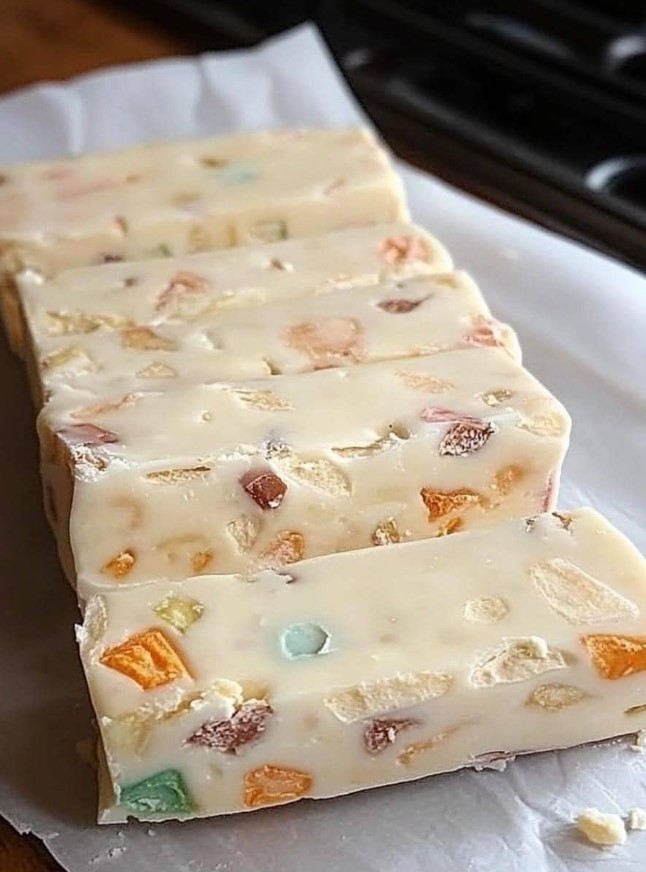
When it comes to celebrating birthdays, one treat reigns supreme in my kitchen: my beloved bars. They’ve become a staple at every birthday party I host, consistently disappearing within moments of being served.
Not only do they boast an irresistible combination of flavors and textures, but they also have that homemade charm that everyone loves. With a simple recipe that yields at least 500 bars, these delectable bites are perfect for gatherings of any size. Let’s dive into how to make these crowd-pleasers that will have everyone coming back for seconds!
The Ingredients :
To create these mouthwatering bars, you’ll need:
- Base Ingredients:
- 2 cups of all-purpose flour
- 1 cup of rolled oats
- 1 cup of packed brown sugar
- 1 teaspoon of baking soda
- ½ teaspoon of salt
- 1 cup of unsalted butter, softened
- 1 teaspoon of vanilla extract
- Filling Ingredients:
- 1 cup of your favorite nut butter (peanut butter, almond butter, or sunflower seed butter)
- 1 cup of honey or maple syrup
- 2 cups of chocolate chips (semi-sweet or dark)
- 1 cup of chopped nuts (walnuts or pecans work beautifully)
- 1 cup of dried fruits (cranberries or apricots add a delightful chewiness)
Step-by-Step Instructions
- Preheat Your Oven: Start by preheating your oven to 350°F (175°C). This ensures your bars bake evenly.
- Prepare Your Pan: Line a large baking pan (approximately 13×18 inches) with parchment paper, leaving some overhang to easily lift the bars out after baking.
- Mix the Dry Ingredients: In a large bowl, combine the flour, rolled oats, brown sugar, baking soda, and salt. Stir until well mixed.
- Cream the Butter: In another bowl, beat the softened butter until creamy. Add the vanilla extract and mix until combined. Gradually incorporate the dry mixture into the butter until a crumbly dough forms.
- Press the Base: Reserve about one cup of the dough for the topping. Press the remaining dough firmly into the bottom of the prepared baking pan to create an even layer.
- Prepare the Filling: In a separate bowl, mix the nut butter and honey (or maple syrup) until smooth. Stir in the chocolate chips, nuts, and dried fruits until everything is well coated.
- Layer the Filling: Spread the filling mixture evenly over the base layer in the baking pan. Crumble the reserved dough over the top to create a rustic topping.
- Bake: Place the pan in the preheated oven and bake for 25–30 minutes, or until the top is golden brown and set.
- Cool and Cut: Once baked, remove the pan from the oven and let it cool completely in the pan. Use the parchment overhang to lift the bars out, then cut them into squares or rectangles.
Tips for Perfect Bars
- Flavor Variations: Don’t hesitate to experiment! Swap the chocolate chips for white chocolate or add spices like cinnamon for a unique twist.
- Storage: These bars can be stored in an airtight container for up to a week. They also freeze well, making them great for preparing ahead of time.
- Serving Suggestions: For an extra special touch, drizzle some melted chocolate on top or sprinkle with sea salt before serving.
Conclusion :
These popular bars are more than just a dessert; they’re a celebration of flavors that brings people together. With their gooey filling and hearty base, they consistently steal the spotlight at every birthday party and gathering I host. Each bite offers a delightful combination of textures—from the crunch of the nuts to the smooth richness of the chocolate and the chewy sweetness of the dried fruits.
What I love most about these bars is their versatility. You can easily customize them to suit various tastes and dietary needs. Whether you want to make them gluten-free by using alternative flours or vegan by swapping in plant-based butter and flaxseed for eggs, the possibilities are endless. This adaptability makes them perfect for any occasion, be it a child’s birthday bash, a family reunion, or even a cozy gathering with friends.
Not only do they satisfy sweet cravings, but they also evoke a sense of nostalgia—reminding us of carefree days spent sharing treats with loved ones. There’s something incredibly rewarding about seeing smiles on faces as they enjoy a bite of something homemade, especially when you know the effort that went into creating it.
So, the next time you’re planning a celebration, remember to whip up these bars. They’re easy to make, can be prepared in bulk, and will undoubtedly leave a lasting impression. Your guests will not only appreciate the deliciousness but will also feel the warmth of your hospitality. After all, it’s not just about the food; it’s about the memories created around it. Embrace the joy of baking and the happiness it brings to those around you—your kitchen will soon become the heart of the party!
Source of the picture : Barbara O’Neill Lectures


