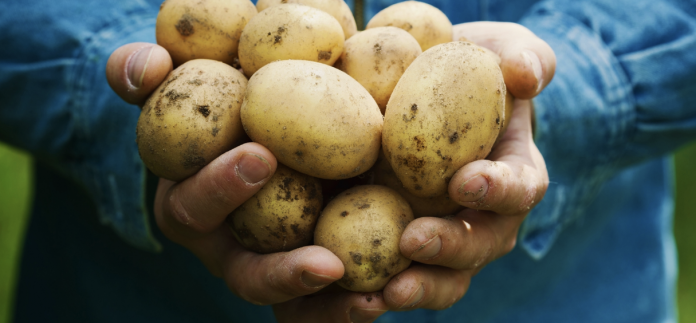
After planting, caring, and harvesting, it is now time for storing the potato yields that won’t be used for cooking so that they survive the harsh and cruel winter season because leaving them on the kitchen counter won’t do you good and it will only cause them to sprout.
Storing homegrown potatoes will save you a good amount for spring and probably summer as well. Without further ado, here are 5 ways to store homegrown potatoes.
1. Root Cellar Storage
The potato storage space should be cool and dark so that the yields won’t freeze during cold winter days. The perfect spot that has all of the requirements is the root cellar. If your root cellar is not appropriate and needs maintenance, then a chilly basement space or an unheated garage will do the job as well. Make sure to prepare the potatoes before storing them so that they last longer.
2. Rebury Potatoes Outdoors
You can actually preserve potatoes without doing any kind of preparation, you just need to put them back into their place immediately after harvesting them. Make sure to dig some trenches 6 inches deep into the ground, then put the potatoes on the bottom before covering them with the loose soil and straw. You can also use folded newspapers to add another protective layer. This way, you keep potatoes fresh and prevent them from rotting by detaching them from dying potato plants during the storage months.
3. Slice and Blanche Potatoes for Freezer Storage
Sometimes the simplest and most relevant method is the best. If you have available space in your freezer, then you can store them there because they will last longer this way, more than most of the other storing methods. There are a few steps to follow so pay attention. First, peel the potatoes and place them in cold and make sure that they are submerged so they don’t turn brown. Once done, chop large potatoes and try t make all of the pieces evenly sized. Now grab a pot of water for a rolling boiling. Rinse the potatoes again and plunge them in water for 5 minutes. Once done, remove the pieces from the water and plunge them in ice water (preferably in a bowl). After a while, drain the potatoes and place them in a good freezer bag, then use a vacuum sealer to prevent spoiling.
Keep in mind that you have to defrost the potatoes before cooking them.
4. Pressure Can Potatoes
The pressure can method is a great method if you are willing to store the yields for a long time. First, grab a quart-sized mason jar, some salt, and 20 pounds of potatoes. First, peel the potatoes, remove eyes, chop them into half-inch pieces, and put them in a large bowl with cold water in it. Boil the water and blanch for 5 minutes.
Now drain and rinse the potatoes to get rid of starch before you spooning the cubes in your sterilized mason jar. Fill them with hot water and make sure to leave an inch of headspace from the rim. Once done, wipe the rims, put on clean lids and rings, and pressure the can at 10 pounds of pressure for approximately 40 minutes.
CLICK NEXT PAGE BELOW TO CONTINUE READING …


