
Cleaning grout doesn’t have to be a dreaded chore when you have the right techniques at your disposal. Whether it’s the shower tiles, floor tiles, or kitchen backsplashes, grout can accumulate dust, hard water stains, and other unsightly residues over time. Fortunately, we’ve got some quick and painless tips to make the task a breeze.
Ingredients for a Grout-Cleaning Powerhouse:
To create an effective grout cleaner, you’ll need:
- 7 cups of water
- 1/2 cup of baking soda
- 1/3 cup of lemon juice
- 1/4 cup of vinegar
Step 1: Mix and Spray
Combine these ingredients to form a solution, transfer it to a spray bottle, and generously spray it onto the grout that requires cleaning. Let the solution sit for a few minutes, allowing it to penetrate the grout’s stubborn stains.
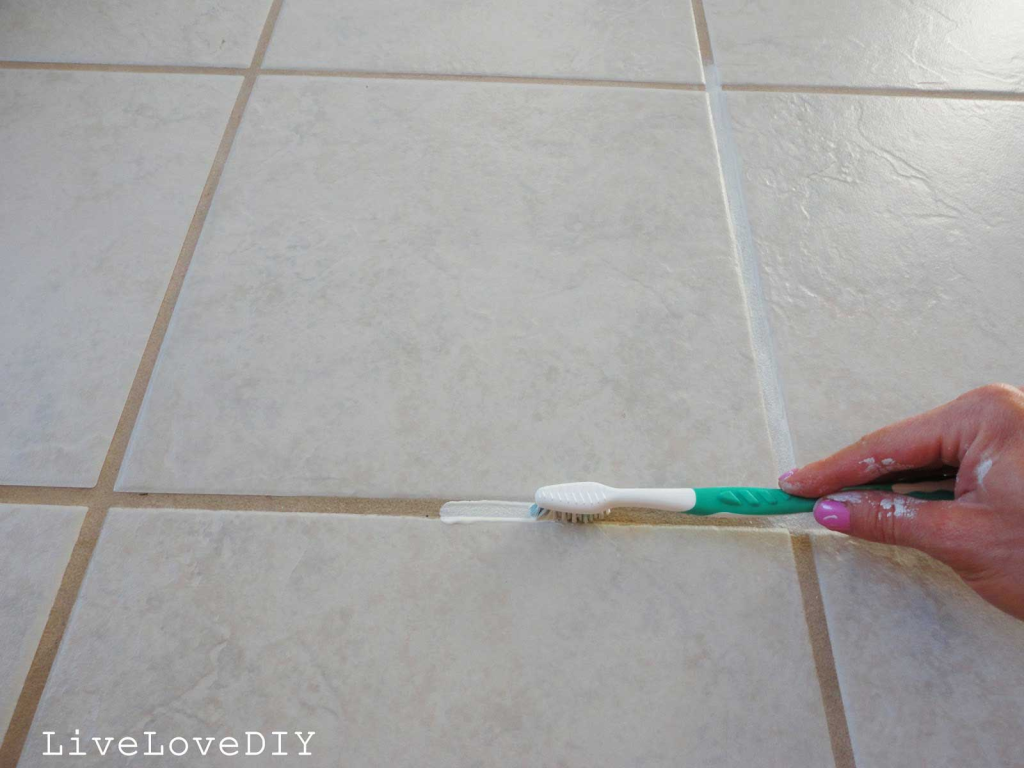
Step 2: Scrub and Rinse
Take an old toothbrush or a grout brush and scrub the grout vigorously. The baking soda and vinegar will work their magic, making the grout cleaning process easier. Afterward, rinse off the solution or wipe it away with a damp cloth.
With this method, cleaning grout doesn’t seem so daunting anymore, right?
Gutter Cleaning Made Easy:
Gutters are another one of those cleaning tasks we often procrastinate on, but a simple solution can make it much more manageable. The dynamic duo of baking soda and vinegar can work wonders here as well. Let’s dive into the details.
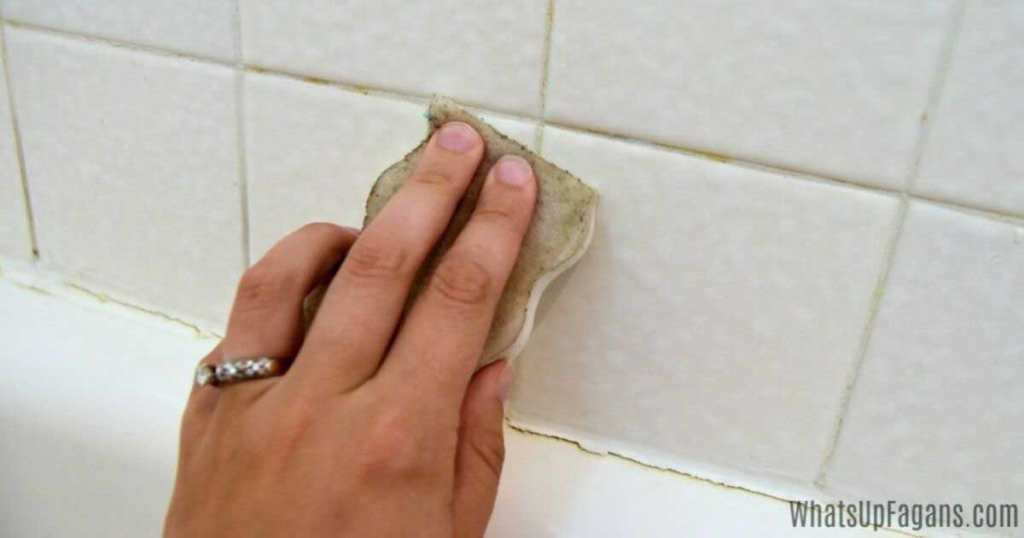
Maintaining Pristine Shower Tiles and Grout:
Shower tiles can accumulate grime, soap scum, and even mold, making them a challenge to clean. But fret not; we have a solution to ensure your shower remains spotless.
Choosing the Right Cleaning Products:
Selecting the appropriate cleaning products for your tiles is crucial to prevent any accidental damage. It’s paramount that these products are effective yet entirely non-toxic. In this regard, vinegar emerges as the perfect candidate.
Using Vinegar on Porcelain and Ceramic Tiles:
Vinegar is a versatile solution for cleaning shower tiles and grout. It excels at dissolving soap scum, tackling hard water stains, and serving as a mildew remover and disinfectant. However, keep in mind that different tile materials react differently to vinegar, so ensure it’s safe for your specific shower tile before use.
The Tools You’ll Need:
To clean your shower tiles effectively, gather the following tools:
- A tile and grout brush (or a stiff toothbrush)
- An absorbent towel or a squeegee
Dealing with Heavy Mineral Buildup:
If your shower has substantial mineral buildup, have some additional cleaning products on hand, including baking soda and hydrogen peroxide.
Avoid Vinegar on Natural Stone Tiles:
While vinegar is a superb non-toxic cleaner, it’s not suitable for every surface. Natural stone tiles, such as travertine, should steer clear of vinegar, as it can damage sealers and even discolor or corrode the stone. Instead, follow the cleaning recommendations from your tile manufacturer or use a trusted cleaner specific to your tile material.
The Grout-Cleaning Process:
Once you’ve prepared your tile-cleaning solution, it’s a matter of patience and some elbow grease.
Step 1: Pre-Treat Stains
For lightly soiled bathrooms, run hot water for 5 minutes to create steam, helping to loosen stains. For mineral buildup, spray vinegar directly on the affected area and let it sit for 10 minutes (only if safe for your tiles).
Step 2: Apply the Cleaner
Thoroughly spray the tile, focusing on the grout, with your chosen cleaner. In most cases, vinegar is an excellent option. Let the solution sit for a few minutes.
Step 3: Scrub Away
Now, get ready to scrub. Use a tile brush or an old toothbrush to vigorously scrub the grout until soap scum and hard water stains disappear. For stubborn stains, apply the cleaner again and persist until you achieve the desired results.
Step 4: Tackle Stubborn Stains
For exceptionally stubborn stains, craft a paste using baking soda and hydrogen peroxide. Apply the paste to the affected grout and let it dry before wiping and rinsing.
Step 5: Rinse Thoroughly
Rinsing may seem trivial, but it’s vital. Vinegar won’t harm most surfaces unless left for extended periods. Rinse away any detergent residue before moving on.
Step 6: Dry Thoroughly
Don’t forget to dry the tiles after every cleaning and use. A squeegee or a clean towel will do the job efficiently.
Tips for Ongoing Tile Maintenance:
Prevent your tiles from becoming a haven for mold and soap scum by adopting these habits:
Tip 1: Circulate Air
After a shower, activate the exhaust fan and leave the bathroom door slightly ajar for 15 minutes to reduce humidity and prevent mold growth.
Tip 2: Remove Excess Water
Mineral deposits in tap water can lead to soap scum. Prevent buildup by using a squeegee or towel to remove excess water after each shower.
Tip 3: Reseal Grout
Reapply grout sealant every 1-2 years to protect against mold and make cleaning easier. It’s a simple task that pays off.
With these tips and tricks, you can keep your tiles and grout in pristine condition without breaking a sweat!
images source : iStock – LiveLoveDIY – What’s Up Fagans


