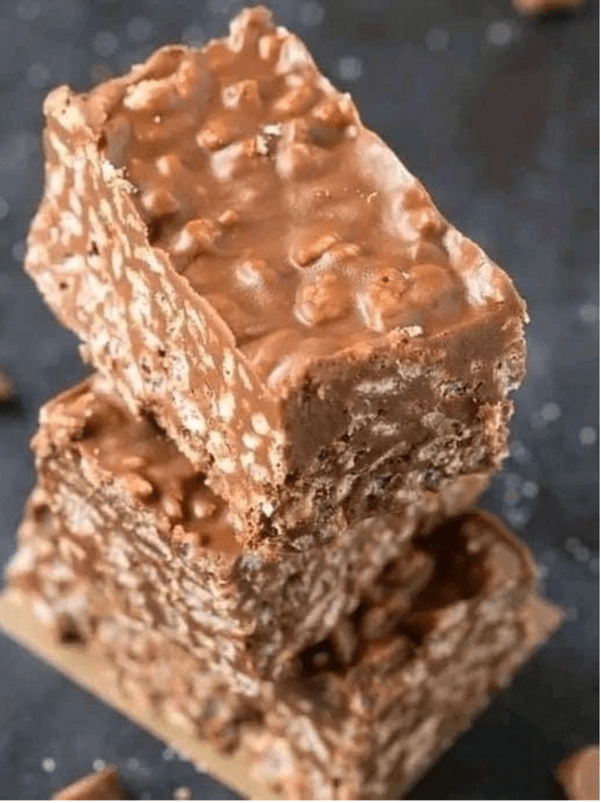
Indulging in a homemade treat is a delightful experience that elevates the satisfaction of your taste buds. This DIY Crunch Bars recipe promises a perfect blend of crispiness and chocolatey goodness. You’ll be amazed at how simple and fun it is to craft these delectable bars in the comfort of your own kitchen. Get ready to embark on a culinary adventure!
Recipe: Homemade Crunch Bars
Ingredients:
- 3 cups of your favorite crispy rice cereal
- 1 1/2 cups of high-quality dark chocolate chips
- 1 cup of creamy peanut butter (or any nut or seed butter of your choice)
- 1/2 cup of pure maple syrup
- 1/4 cup of coconut oil (substitute with grass-fed butter for a different twist)
Instructions:
- Prepare the Pan: Line an 8 x 8-inch baking dish or a similarly sized deep baking tray with parchment paper, ensuring an overhang on two sides for easy removal later. Set it aside, as this will be your canvas for crafting the crunch bars.
- Gather the Cereal: In a large mixing bowl, place the crispy rice cereal. It’s the backbone of these crunchy delights, so make sure you have it ready.
- Melt the Magic: In a microwave-safe bowl or on the stovetop, combine the chocolate chips, peanut butter (or your nut or seed butter of choice), maple syrup, and coconut oil (or the alternative butter option). Apply gentle heat until the mixture transforms into a velvety and luxurious chocolate blend. Stir well, ensuring that everything melds into a smooth, glossy mixture.
- Unite the Elements: Pour your molten chocolate masterpiece over the crispy rice cereal, ensuring that every grain is generously coated in this heavenly mixture. Using a spatula or a wooden spoon, gently fold and mix until all the cereal bits are enrobed in that luscious chocolate goodness.
- Chill to Perfection: Transfer this delectable concoction into the prepared baking dish, smoothing it out evenly. Place it in the refrigerator and let it rest for at least an hour, allowing the bars to solidify and take shape.
- The Grand Reveal: Once your homemade crunch bars have firmed up, remove them from the fridge. Gently lift the parchment paper overhang to carefully slide out your creation from the baking dish. Place it on a clean surface and admire your handiwork.
- Slice and Savor: With a sharp knife, cut your chilled creation into bars or bite-sized squares, as your heart desires. Now, it’s time to savor the fruits of your labor and share them with loved ones.
Creating your own Homemade Crunch Bars is a rewarding endeavor that offers a delightful blend of textures and flavors. These crunchy, chocolatey treats are perfect for satisfying your sweet tooth or impressing guests at any gathering. Enjoy the process of making them and relish every bite. Happy crunching!
image source : 99 easyr ecipes


