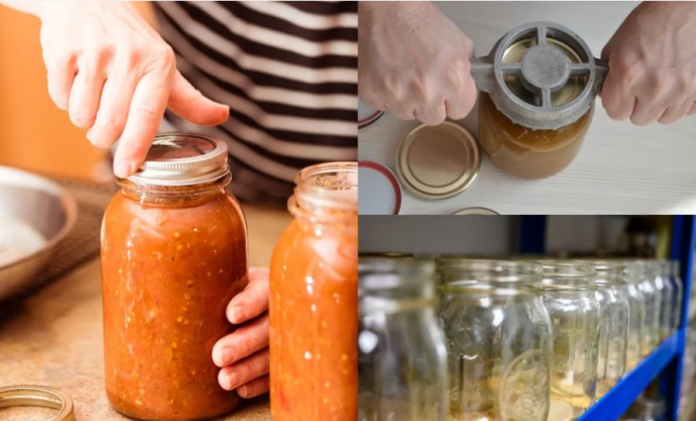
Having a well-stocked pantry with rows and rows of pretty jars is nothing short of a Pinterest dream for thousands of women (and men) in search of a self-sufficient lifestyle.
Imagine opening the cupboard and having to make the difficult decision of whether what you want on your toast this morning is blackberry jam or a spoonful of delicious apricot jam, or even a generous portion of both?
If you also dream of having an amazing pantry, but feel some fear right off the bat, fear of making a mistake, breaking jars or making someone sick, know that you are not alone.
We all start out with some trepidation when we learn something new.
This article on the most common mistakes made by beginners – and how to avoid them – is intended to give you the courage to try canning for yourself and enjoy the process.
It’s aimed primarily at beginners, but is a great refresher for those who want to deepen their knowledge and understanding of canning and food preservation, both in terms of safety and taste.
- Poor planning
Many articles have been written about canning mistakes, and one of the biggest oversights is that no one talks about how to plan for a busy canning season.
What kind of utensils do you need? How many jars and what size? Do you have enough lids? Or enough space for preparation and storage?
Will you be prepared to know how to can 40 pounds of tomatoes in a day, if the garden produces that much?
And to can an excess of zucchini?
Or four wheelbarrows of apples?
You know your orchard best and you know what it can offer in a given time frame. Of course, there’s always the market if your orchard can’t meet all your canning needs.
When you are better prepared for a summer canning season, you tend to make fewer mistakes on the fly. And the more you preserve, the better your results will be.
Eventually, you’ll know exactly how many minutes it takes to pit 15 pounds of cherries, for example. Then you’ll know not to start at 7 p.m., but at 3 p.m. You can also store the cherries in a cool place until the next morning.
How to avoid under-preparedness
Lack of preparation can be a stressful situation for many people.
When you are in a hurry, you tend to mix things up with unpredictable unpredictability, which is not good for either the fruits and vegetables you pack or the people who eat them.
From a safety point of view, you should always try to prevent botulism.
If it’s your first year canning, don’t be afraid. On the contrary, consider yourself informed. The safety of your cans is a matter of hygiene.
So don’t forget to wash your vegetables, wash your hands and disinfect your jars. And, above all, be prepared!
- Keeping inferior ingredients
While it’s tempting to accept the offer of a box or two of strawberries to make preserves, you should first check the condition of the strawberries.
If there are signs of mold or rot, forget about canning them, although you can always compost them.
What you should look for when you have a canning project in mind are quality ingredients.
These are not usually free ingredients, although they can be free under the right conditions. Fruits and vegetables should be firm, neither overripe nor underripe, and free of defects.
How do you avoid disappointing flavors in your preserves?
If you want to open a jar of tasty tomato sauce, don’t buy the cheapest, biggest, most cost-effective products and expect magic to happen in the jar. You should start by using the best possible ingredients and don’t hesitate to do a taste test.
- Don’t follow a recipe
Photo credit: Shutterstock / Sue Rae Edmondson
One of the most common mistakes that both novice and experienced canners make is not following a recipe.
It’s all too easy to tell yourself “there’s too much salt” or “there’s not enough vinegar,” only to realize later that you didn’t get it right.
In a world of information overload on the Internet, it is often difficult to distinguish between real and fake recipes. In your search for the best canning recipes, you’ll also come across some canning myths. Read them and find out what to avoid making in your own kitchen. Learn from the mistakes of others, so you can the best jars in town!
How to become a smart canner
If you’re looking for new and updated recipes or tried-and-true classic versions, one of the best places to look is a book.
If you’re a beginner, this is the home canning bible you should try first. All the recipes have exact measurements, making it much easier to get started.
For more tips, scroll down to the “Listen to your grandmother” page below.
- Not knowing when to use a water bath or pressure cooker.
Fruits and vegetables are washed, cut, cooked and put into jars with an elegant handmade label.
If only canning were that easy.
Follow a simple canning recipe for the first time and you’ll instantly see that there’s more to canning than this oversimplified example.
Once you know which fruits and vegetables you can harvest and/or buy in abundance, you can classify them as high acid or low acid foods.
High acid foods are
pickles
jams
jellies
tomatoes (if their natural pH is above 4.6 or if acid has been added).
All of these foods can be safely preserved using a boiling water cooker, often without the addition of vinegar, lemon juice or citric acid. As with most fruits (but not all!), their own acidity is sufficient.
Low-acid (pH 4.6 to 6.9) and alkaline (pH 7.0 or higher) foods include
carrots
peas
corn
green leafy vegetables
beans and most vegetables other than tomatoes
meats
seafood
dairy products
These foods should be stored in a pressure cooker.
In some cases, they can be acidified with vinegar or bottled lemon juice.
Of course, if you have a surplus of a product that you really want to preserve, but are not sure of the right way to do it, freezing or dehydrating may be your best option.
Start simple with water bath canning
One way to avoid “overconsumption” is to start with simple recipes for high acid canning. One-ingredient plum jam is great for beginners, as are jams and chutneys.
If something goes wrong during the canning process, such as the lids not closing properly, you can always store the contents in the refrigerator and eat them as soon as possible.
- Not adding enough water to cover the jars in a water bath
It’s not always fun to follow instructions, but sometimes they have one or more reasons to be.
To heat the entire contents of the jar in a water bath cooker, the jars must be covered with a 1-2 inch layer of water.
Here is a step-by-step guide to water bath canning, in case you need a refresher course.
The best way to avoid mistakes…
… is to take notes. Keep a small journal or notebook of your canning efforts in your kitchen, this way it will be easier to share your canning experiences (successes and failures) with others.
- Leaving too much – or too little – open space
This practice is also known as overfilling jars. It is a practice that should be avoided in canning.
As nice as it sounds to want to fill a jar as much as possible, consider the possibility of product oozing out of the jar, right into the hot water bath. This is not pleasant at all.
The headspace (the space between the lid and the top surface of the food you are filling in the jars) should be respected according to the instructions of the recipe you are following. It can be anywhere from a half inch to an inch.
The main disadvantage of accidentally overfilling the jars is that the lids may not close tightly. This would leave you with food for the time being, instead of delicious winter jams and pickles.
Don’t waste time
Wasting time comes in many forms.
We all fall into this trap from time to time, especially in the kitchen. Even with the best of intentions, things can go wrong.
Learn to follow instructions, create a canning routine for yourself (as well as your helpers) and have fun while doing it. Your mindset will help determine the success of your canning.
If something doesn’t apply…
Never assume that you know it all when it comes to canning. There is always something you can learn – that may be helpful to someone else!
7. Using the wrong size jar
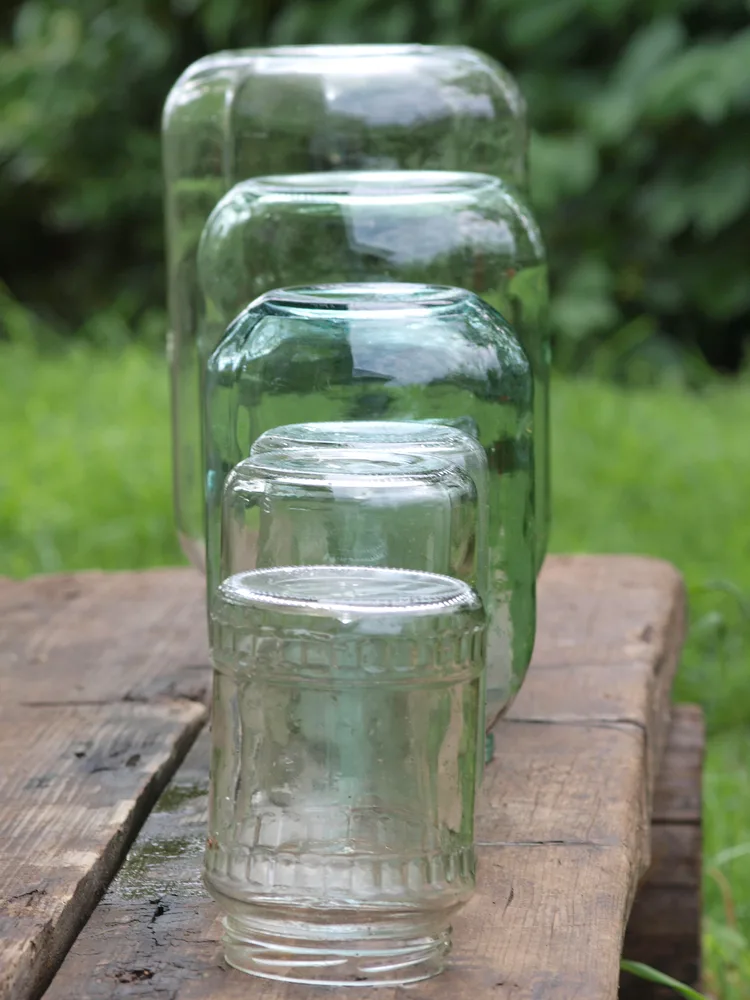
There is really no wrong sized jar, just a right-sized jar used a wrong way.
Recipes are made for a reason – to have repeatable results. And with that comes food safety and a pride in knowing exactly what you are doing, that is if you are in search of impeccable results.
It is possible however, to scale down in jar-size while following a recipe, though it may be unwise to scale up. This is important when looking at processing times, in a pressure canner or hot water bath.
Take this with a grain of salt
This “mistake” is really a minor issue for canners. Most of the time you wouldn’t want to put jam in a 16 oz. pint size jar. Nor would you want to can thirty jars of pie filling (delectable cherries in honey) in tiny 8 oz. jars.
Trust your intuition and grow your canning experience instead. You can also look around and find other recipes that may suit your canning-style better.
Don’t fret about the small stuff, but do avoid the next mistake at all costs.
8. Using cracked – or chipped – jars
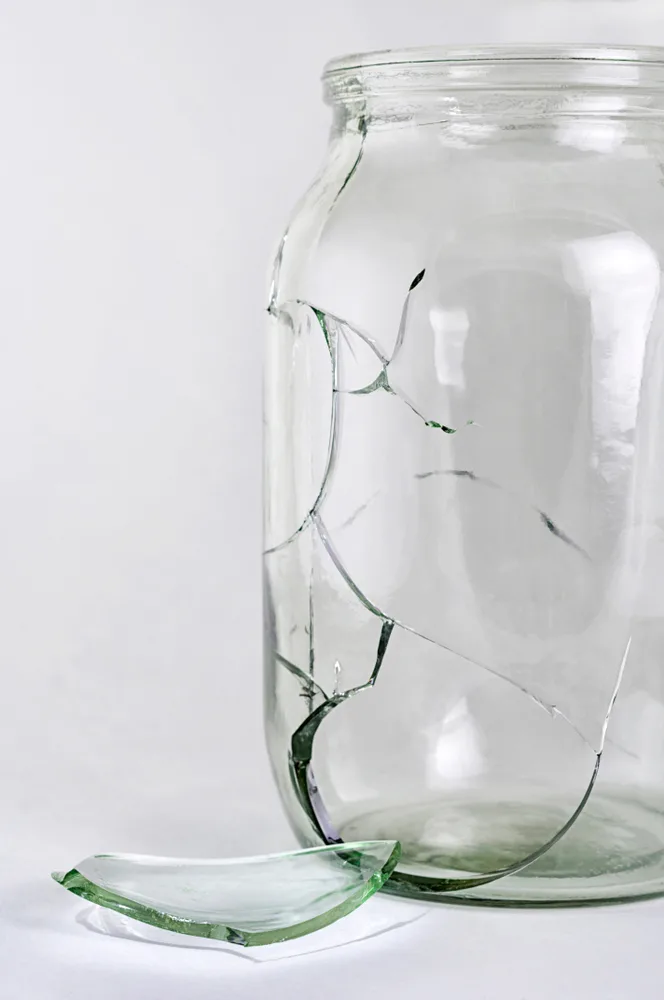
No, no and no. Do not save money by reusing old jars to their deaths.
Simply recycle them before they become a hazard in your kitchen, as no one likes cleaning up broken glass. Even an unassuming hairline crack can cause a jar to break in a hot water canner, or cause further problems for you on the shelf – especially if temperatures unexpectedly drop.
If the rim is chipped, your jar is also unlikely to seal, leaving you with spoiled food, or worse. Don’t let anyone get sick because of this small mistake.
Prevention is the best cure
The best way to be healthy is to stay healthy.
An easy way to apply this to canning, is to give your canning jars a thorough checking out at the beginning of each canning season. When washing them, give visual attention to each and every jar, searching for signs of wear and tear.
Instead of using the dishwasher, wash your jars by hand. In this way you may be able to feel if the rims are chipped. Replace all jars as needed.
9. Overtightening lids
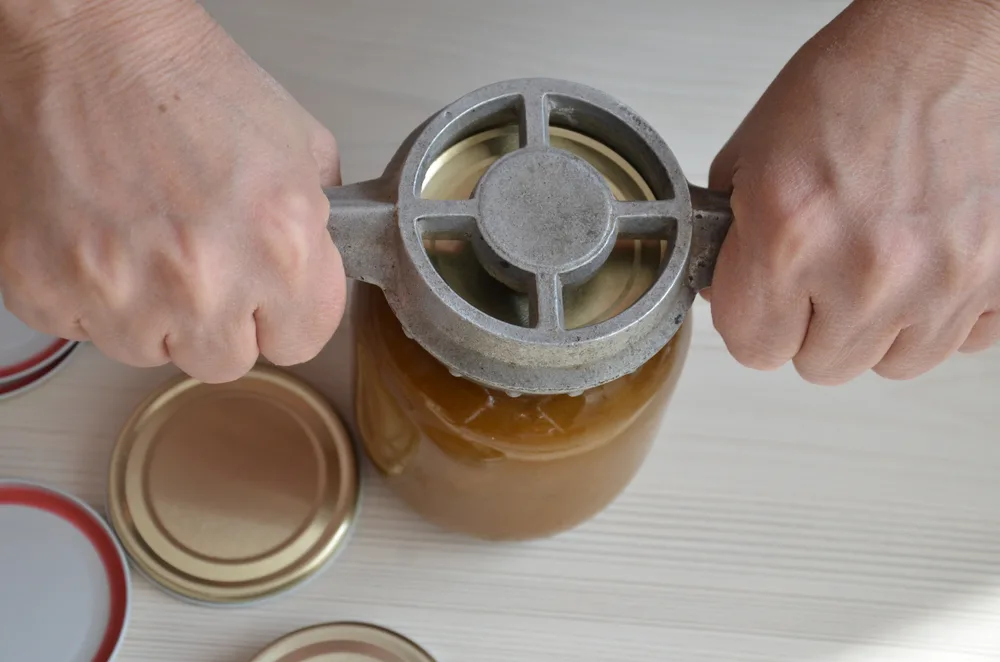
This may depend on what type of lids you are using, but it is still worth noting.
Overtightening the lids before adding the jars to a hot water bath, for instance, may prevent air from venting out of the jars. At worst, the lid looks a bit funky, though it may also fail to seal.
Fingertip tight is as far as you need to twist, while you let the heat seal the deal.
The small details
When watching someone can for the first time, you may not even notice that they are even doing this. They may not even realize that they are doing this – tightening the two-piece lids to the point of gentle resistance. It is a feeling that comes along with experience.
If some of your jars do not seal the first time, keep trying. The more you do it, the more you will feel how to do it – and the fewer mistakes you will make.
10. Listening only to your Grandma – or inventing your own recipes
Grandma might have known best back in the day, but new food standards have risen since then. While she may still have some good advice to offer, it pays to also listen to the experts at the National Center for Home Food Preservation.
They can help to answer questions such as: Is it safe to process food in the oven? (The quick answer is NO!) What vegetables expand rather than shrink during processing? Is it safe to can food without salt? Along with much, much more.
Inventing your own recipes may be like opening a can of worms. The idea might work out beautifully in your mind, in reality, less so.
If you want to play it safe, and you do, begin your canning journey with tried, tested and true canning recipes. It will make your life so much easier, and more care-free too, which is far better than being care-less.
Out with the old, in with the new
Canning is both an art and a science.
To practice it safely and consume it with excitement, rather than trepidation, consider starting with a cookbook where all the recipes are proven to work out.

